An RV roof vent fan upgrade begins with a question: can the exact replacement use the existing roof opening and electrical circuit without changing the vehicle’s approved construction? Airflow features matter only after that question has an evidenced answer. The roof, fan, seal and wiring form one installation. This guide gives a decision sequence for a camper owner or project buyer to take to the vehicle and fan documents; it does not approve a particular fit or installation.
Define the outcome before shopping for airflow
Is the goal to replace a failed lid and fan, increase air exchange while parked, reduce electrical use, or gain a different operating mode? These are distinct requests. For ventilation, sketch where fresh air can enter, which occupied zones it crosses and where the roof fan discharges. An exhaust fan needs a deliberate intake; a quoted free-air flow figure alone does not tell you what the assembled camper will move. Screens, openings and the roof assembly add resistance. Ask for the candidate fan’s data in the mode and configuration you intend to use, then compare it with the vehicle’s constraints.
Record the exact vehicle year, model and roof construction, plus the old vent’s part number if it is readable. Record the prospective fan’s full model and revision, not just a family name. There is no safe universal opening, airflow or battery-use number that can replace those two document sets. A model-specific manual may specify an opening size, current or installation method; that specification belongs to that model and its stated conditions.
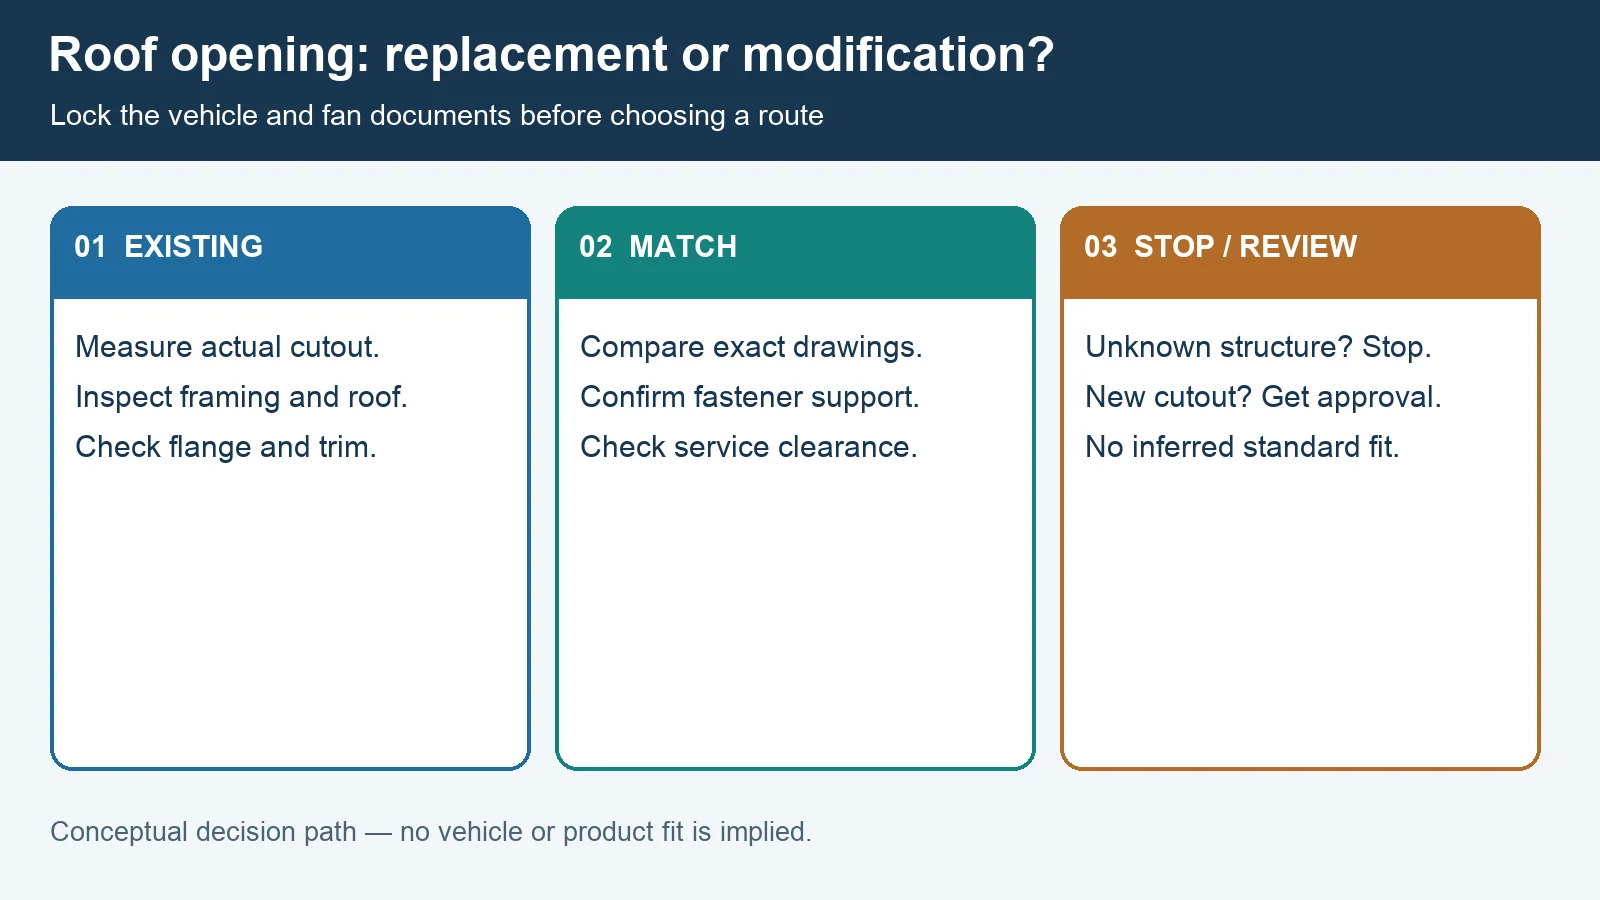
Decide whether this is replacement or roof modification
Measure the actual roof cutout and inspect the surrounding support, roof thickness, interior trim, overhead wiring and exterior clearance. Compare those observations with the exact vehicle guidance and fan drawing. A nominally similar opening does not prove the new flange, fastener locations, lid sweep or interior garnish will work. If the opening must be enlarged or relocated, the job becomes a roof modification with structural, waterproofing, access and warranty questions. Stop before cutting until the vehicle maker’s requirements and a qualified installer have been consulted.
For a concrete example of why manuals matter, the Dometic 1450 installation manual distinguishes mounting methods and ties them to roof thickness, support, gasket and sealant details. Those instructions describe that Dometic product, not a general specification for other fans or an approval for any LONGWELL model in an RV.
Check the waterproofing assembly
A seal is the result of compatible layers and a maintained joint, not simply a bead visible from outside. The roof skin or membrane, cut edge, substrate, fan flange, gasket or bedding material, fasteners, exposed penetrations and drainage route each have a role. Use the seal materials and sequence required by the exact roof and fan manufacturers. Their instructions take priority over a generic suggestion to use butyl tape or a particular lap sealant. Inspect old damage before covering it, and leave a documented path for future checks. A dry appearance on installation day is not proof of long-term weather resistance.
Roof access adds a separate hazard. The Dometic Fan-Tastic Vent manual explicitly warns about work at height and advises qualified installation when the installer is unfamiliar with the work. Its mounting details also belong only to the listed model. Use the vehicle’s service guidance and professional help when roof condition, access or water-damage history is uncertain.
Trace the complete DC power chain
Confirm the prospective fan’s rated supply, actual operating load by mode, control interface and manufacturer protection requirements. Then inspect the vehicle’s branch circuit: source, isolation, overcurrent protection, cable condition and route, connector, polarity and any existing controller. A shared voltage label is insufficient evidence that an old circuit can safely support a different unit. Do not infer overnight amp-hour use from a generic motor type or an unsourced current table; estimate it from the verified model’s current profile and the planned run time, accounting for the vehicle’s battery system and other loads.
Do not improvise around hidden conductors, damaged insulation or uncertain fuse locations. Have a qualified person review modifications, confirm protection and test the finished circuit. If the original fan merely stopped working, it may be worth diagnosing the existing unit before planning a roof change; our roof fan motor replacement guide provides a separate fault-finding path.
Verify airflow, operating modes and commissioning
Identify an acceptable air inlet and confirm that the chosen operating mode delivers the intended direction. Exhaust, intake and reversible operation are model features, not universal roof-fan capabilities. A screen or partially closed lid changes the path. Nearby exhaust outlets, plumbing terminations and combustion equipment may make a proposed intake or exhaust pattern unsuitable. Rain, wind, road travel, storage and automatic-lid behavior also need model-specific checks. Do not leave a vent in an unattended mode merely because another product advertises a rain sensor.
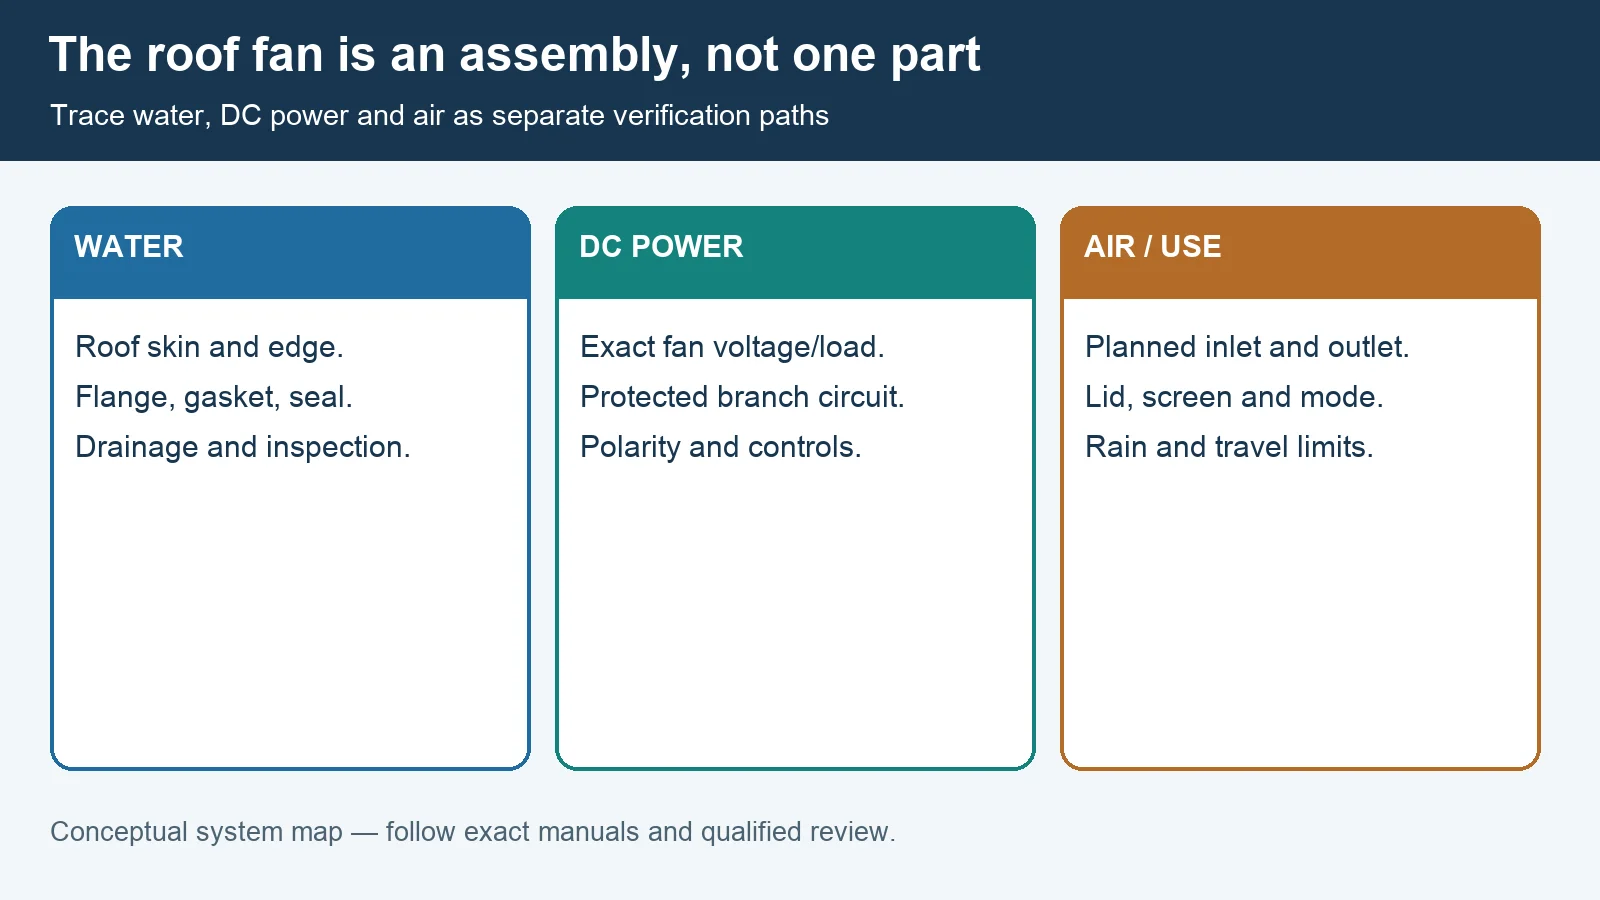
Commission against the exact manuals: mounting security, lid and screen travel, control response, airflow direction, circuit behavior, water checks and service access. Photograph the final assembly and record the fan model, vehicle, approved materials, installer and inspection date. Recheck after relevant weather and travel conditions. If structure, electrical protection, sealing method or permitted operating mode remains unknown, the next action is to obtain the missing document or inspection, not to assume the upgrade is ready.