A bathroom fan that suddenly grinds, ticks, rattles, hums, or roars is giving you a clue, not a diagnosis. Sound can begin at a rotating part or travel through a grille, damper, duct, ceiling connection, or remote inline fan. The useful goal is to locate the sound path and choose a safe next action without turning one noise into an unsupported motor verdict.
This guide is for homeowners observing an installed fan from a dry floor. Internal electrical, ceiling, heater, and motor work belongs to qualified service unless the exact manufacturer instructions authorize a specific owner-maintenance task.
Stop when noise comes with water, heat, or an electrical warning
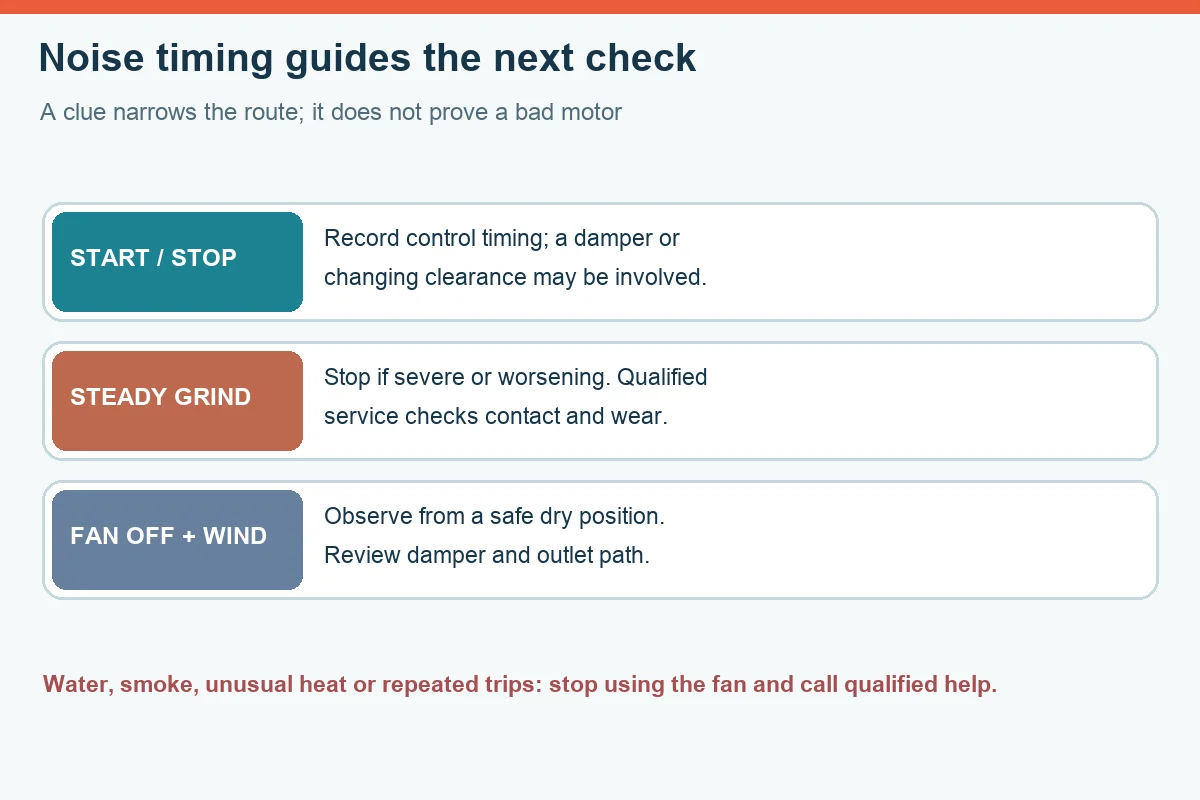
Do not continue listening tests if you see dripping, a wet grille, a spreading ceiling stain, smoke, a burning smell, unusual heat, or repeated breaker trips. Stop using the equipment from a safe, dry location and arrange qualified evaluation. Current U.S. EPA home guidance places leak and condensation control ahead of the noise question.
A wall switch in the OFF position does not prove every circuit is isolated. A fan-light-heater combination may have multiple feeds, and a humidity sensor, timer, occupancy control, or connected control may start a fan automatically. Never remove a grille, reach through an opening, or place a phone or tool near moving parts while the unit is energized.
Classify when the bathroom fan noise occurs
With the fan fully assembled and guarded, record the timing instead of naming a failed part.
- Startup or shutdown: a brief tick or scrape can involve changing clearance or a damper; it does not identify a bearing.
- Steady speed: repeating scrape or grind can involve contact, debris, distortion, mounting movement, or wear. Stop if it is severe or worsening.
- Fan off, wind changing: clacking may travel from an exterior damper or duct path.
- Hum with little apparent airflow: switch the fan off rather than cycling it repeatedly, then request exact-model evaluation.
- Broad airflow roar: consider duct restriction, a blocked termination, or the unit’s original sound level before assuming mechanical contact.
Identify the architecture before locating the fault
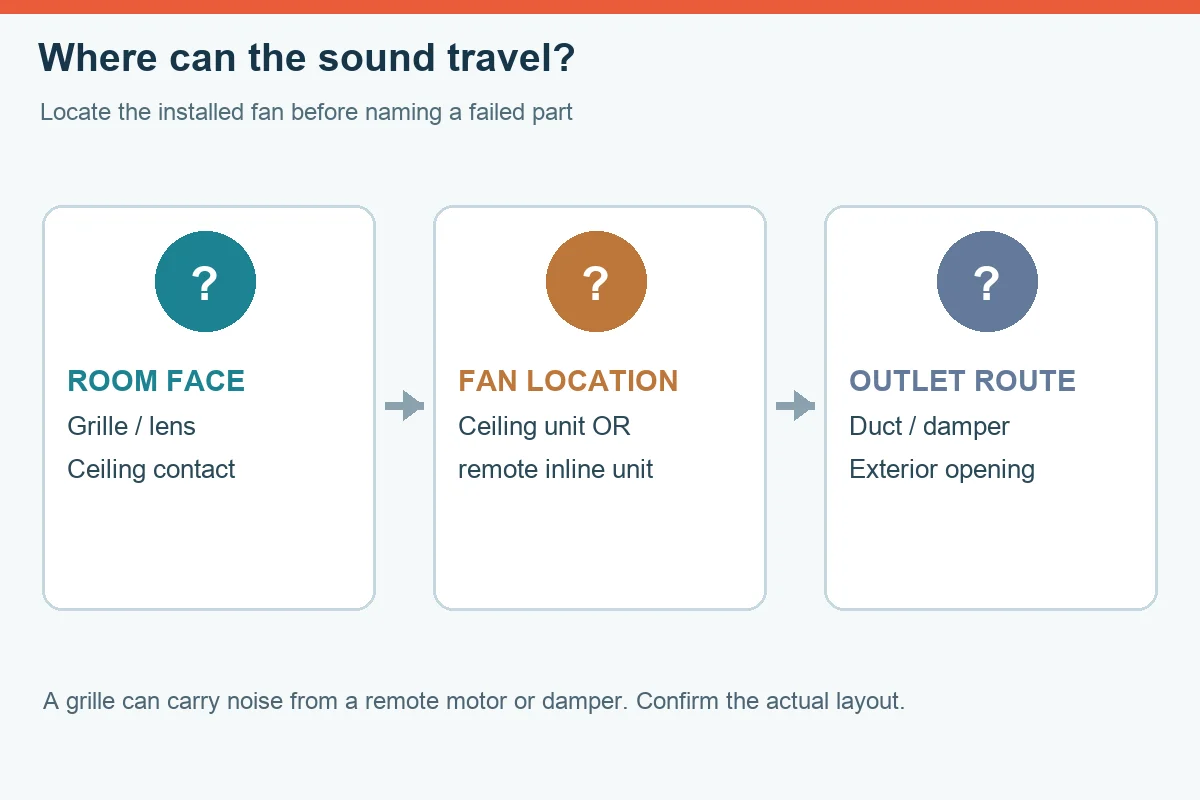
The grille may cover a ceiling exhaust unit, a fan with a light or heater, a sensing product, or only the intake for a remote fan. That distinction changes where the motor sits, which controls can energize it, and which manual governs service.
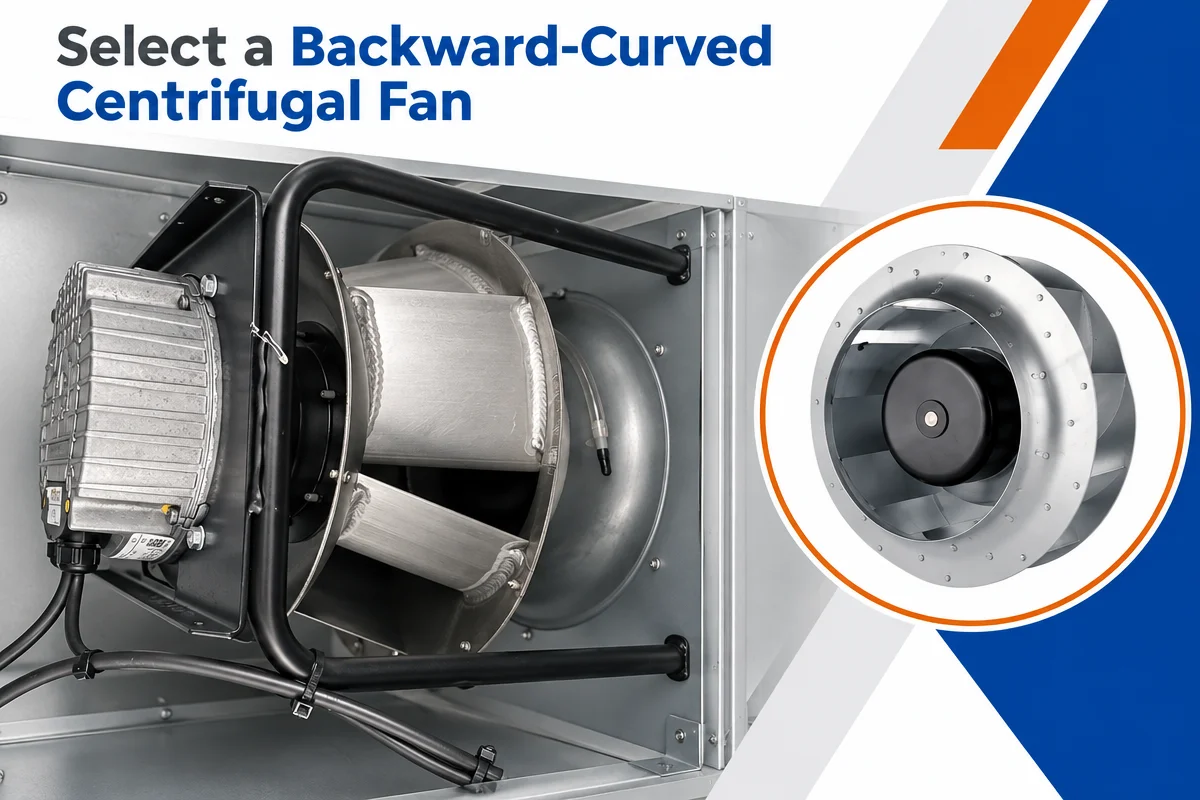
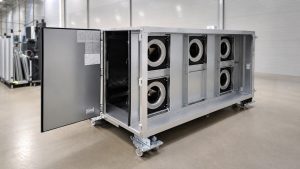
A grille alone does not establish motor location or identify the cause of a noise. In an inline arrangement, vibration can travel along the duct and emerge at the opening. This duct-fan architecture overview explains that general arrangement. The LONGWELL bathroom exhaust fan family illustrates possible product forms, not the model or fault in an installed unit.
Map the sound path from the room outward
- Room interface: look for an obviously displaced grille or lens, a ceiling gap, or a nearby fixture that vibrates. Do not press on a running fan.
- Control pattern: note which switch, timer, humidity event, light, or heater command coincides with the sound.
- Damper and termination: from a safe ground-level position, note whether wind changes the sound or an accessible exterior flap appears obstructed. Roof and attic access add separate hazards.
- Duct path: a loose, crushed, poorly supported, sharply bent, or condensate-affected duct can transmit rattle and airflow noise.
- Rotating assembly: wheel contact, debris, a shifted motor plate, housing distortion, and bearing wear are different possibilities. Sound alone cannot select one.
Keep homeowner maintenance inside the exact manual
Find the exact model and current instructions before opening or cleaning anything. Home Ventilating Institute maintenance guidance begins with switching off the power source at the circuit breaker and confirming that the fan and light cannot operate at the wall switch. The product manual may require additional isolation or reserve service for a technician.
If routine owner cleaning is authorized, keep water away from the motor, lamp holder, electronics, and connections. Do not spray cleaner or lubricant into the unit, create a compressed-air dust cloud, bend a wheel, trim a blade, or energize the product with a guard removed. Generic oil is not a universal fix.
Choose cleaning, service, or whole-unit replacement
| What you find | Bounded next action |
|---|---|
| Dry dust at an accessible grille, with owner cleaning authorized | Follow the manual and reassemble completely; cleaning does not prove internal wear is resolved. |
| A loose or damaged visible grille or lens | Keep the unit off until the correct fastening or replacement method is confirmed. |
| Persistent grinding, scraping, drag, a damaged wheel, or internal movement | Request exact-model service. Do not reshape, glue, shim, or rebalance a rotating part. |
| Noise tied to wind, a damper, or the duct route | Inspect the complete exhaust path; replacing only a motor may leave the cause untouched. |
| Automatic controls, heater functions, damaged wiring, moisture, smoke, odor, heat, or trips | Stop and use qualified electrical and ventilation service. |
| No approved service assembly, damaged housing, or an obsolete exact model | Evaluate whole-unit replacement instead of forcing a similar-looking component. |
If the decision reaches whole-unit work, use this bathroom exhaust fan replacement safety overview as a planning path. The exact instructions, adopted codes, circuit arrangement, duct route, and site conditions still control the job.
Verify more than the absence of grinding
After qualified service or authorized maintenance, fully reassemble the fan before power is restored. Check start and stop behavior, automatic controls, sound, vibration, airflow and damper action, plus light or heater operation where fitted. The housing and surrounding area should remain dry, with every cover, fastener, wire-routing feature, and guard restored.
A quieter fan is not automatically an effective ventilation system. If airflow or moisture control remains poor, review sizing, duct resistance, leakage, insulation, and the exterior termination. If replacement is the endpoint, this bathroom exhaust fan selection overview can frame the next questions; verify any final choice against the room, duct, controls, listing, and installation requirements.
Document the decision for service or replacement
Provide the full model and suffix, control type, exact sound and timing, visible moisture or damage, any protection event, duct observations, and what changed before the symptom began. Ask the response to separate evidence from assumptions and state whether the proposal addresses cleaning, service, the duct path, or the complete fan.
Choose the right bathroom exhaust fan
Longwell manufactures 89 bathroom exhaust fans in-house. Send airflow, static pressure and voltage — an engineer replies with a matching model, performance curve and price within one working day.