Guides on how to seal ducts often present it as a Saturday job: find a gap, add tape, and move on. That framing skips the decisions that matter. Some openings are meant to be there. The duct material decides which closure system you may use. And when you seal ducts in one place, airflow can shift somewhere else. So the real job has three parts: find the unintended leaks, repair them correctly, and confirm the system still runs safely.
This guide separates safe DIY work from jobs that need an HVAC contractor. Stop at once for a gas odor, a carbon-monoxide alarm, soot, scorching, suspect older wrap, wet or corroded ducts, damaged wiring, or unsafe access.
Map the duct before you seal anything
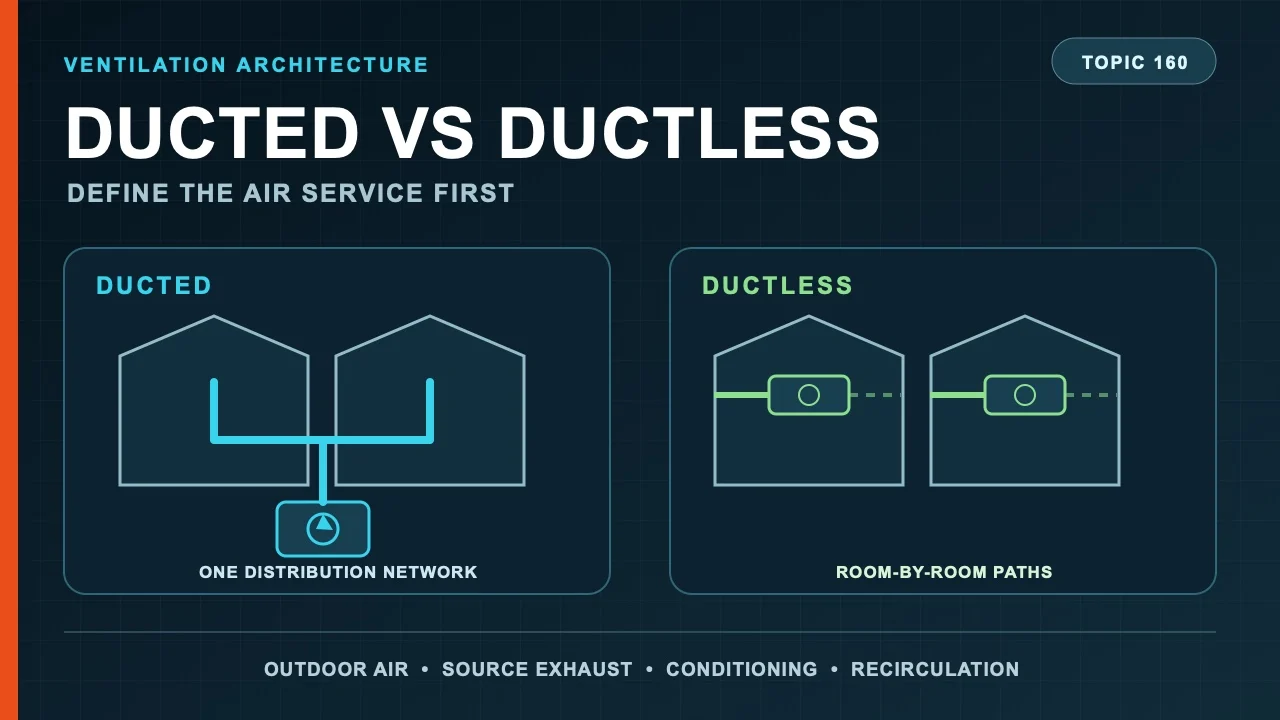
First, identify where the duct begins, where it ends, and what air it carries. Supply and return runs are not the same as exhaust, outdoor-air, combustion-air or smoke-control paths. Consequently, a gap that looks wasteful may be required.
Do not treat a draft hood, flue, vent connector, combustion-air opening, required intake, relief path, drain, fire damper or service panel as a leak. Sketch the gear and the branches. If you cannot classify a part with confidence, pause.
Find the leak and define a baseline
Next, inspect only what you can reach from a stable work position. Photograph loose boots, disconnected takeoffs, failed seams, torn flexible duct, missing supports, stains, rust, and crushed sections. Comfort complaints, dust marks or a draft can guide the search. However, they do not measure leakage. Never use an open flame or a casual smoke test near fuel-burning gear.
For a meaningful result, ask for a pressure-based leakage test before and after you seal ducts. Record the test pressure, the system boundary, the method, and the units. The ENERGY STAR guidance on duct sealing explains why the before number matters. Total leakage and leakage to outside answer different questions. So two numbers only compare when the boundary and method match.
Repair the connection before applying sealant
Mastic and tape close gaps. They do not hold anything up. So a disconnected branch, a loose collar, a wide moving gap, a collapsed duct or an unsupported plenum needs the right mechanical connection, alignment, fasteners and supports first. Otherwise the patched surface moves, fails again, and the old airflow restriction stays.
Before you open a panel or reach near moving parts, power down nearby fans, dampers, heaters and controls per their instructions. A thermostat set to “off” does not prove the gear is isolated. Also, put guards and panels back before running anything.
Choose mastic or foil tape by substrate—not habit
There is no universal winner between mastic and foil tape. Metal duct, duct board and flexible connections can each demand a different product, which is why habit is the wrong guide when you seal ducts. Read the label. It states the substrate, pressure, temperature, exposure, prep, thickness, reinforcement and cure time. Where a listed system is required, check the marking and how it was applied, not how it looks.
The surface must be sound, dry and prepped as the product and duct makers permit. Meanwhile, household cloth duct tape, generic foam, construction adhesive and random foil tape are not long-term HVAC repairs. Never cover moisture, oil, loose insulation, rust, burned material or a structural failure. Fix the cause first.
Treat flexible duct as a layered connection
You cannot seal flexible duct by wrapping only its outer jacket. First connect the inner core to the collar, secure and seal it with the specified system, then restore the insulation and vapor jacket. Keep the required support, bend radius and extension. Crushing the duct to reach a joint adds resistance, which is a new problem of its own.
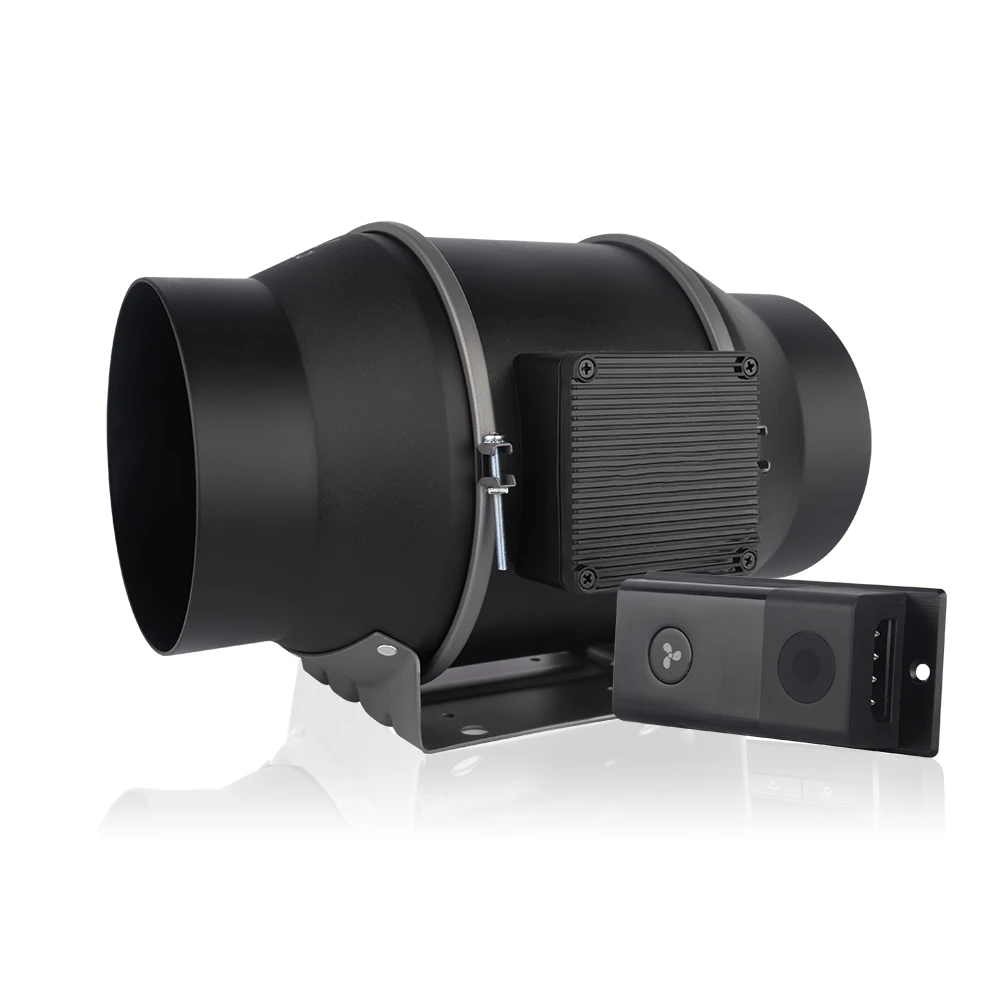
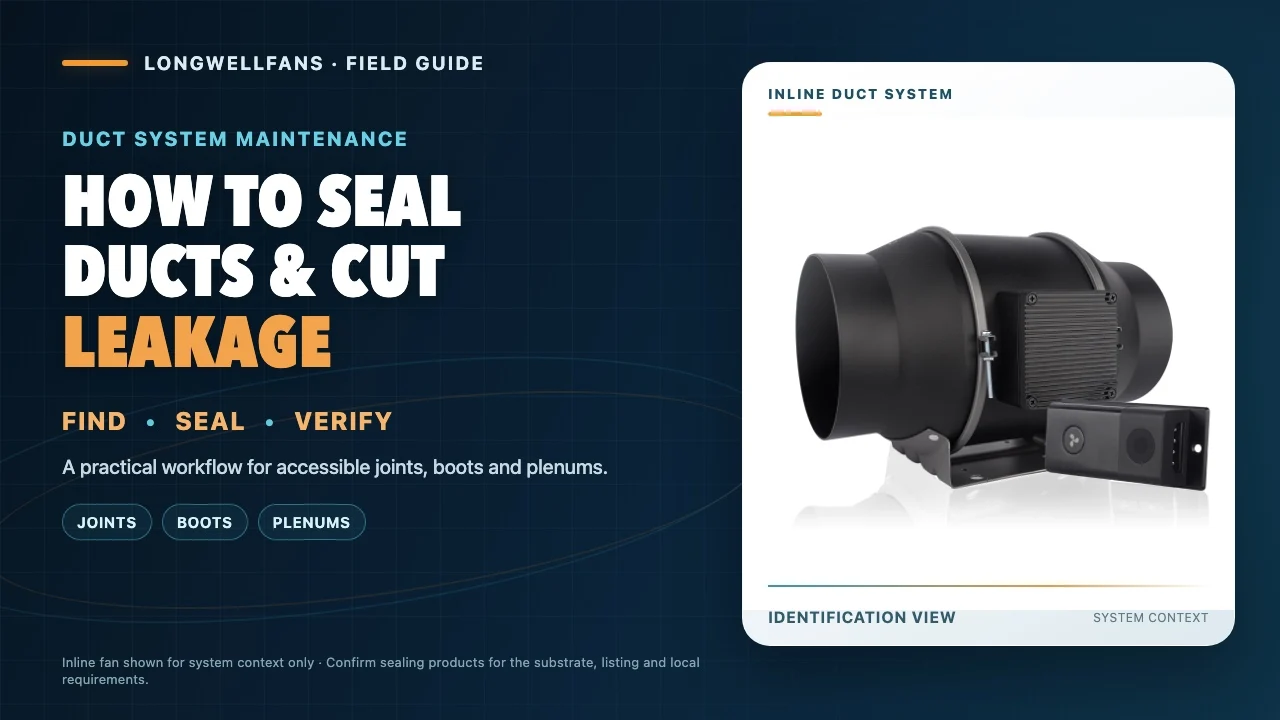
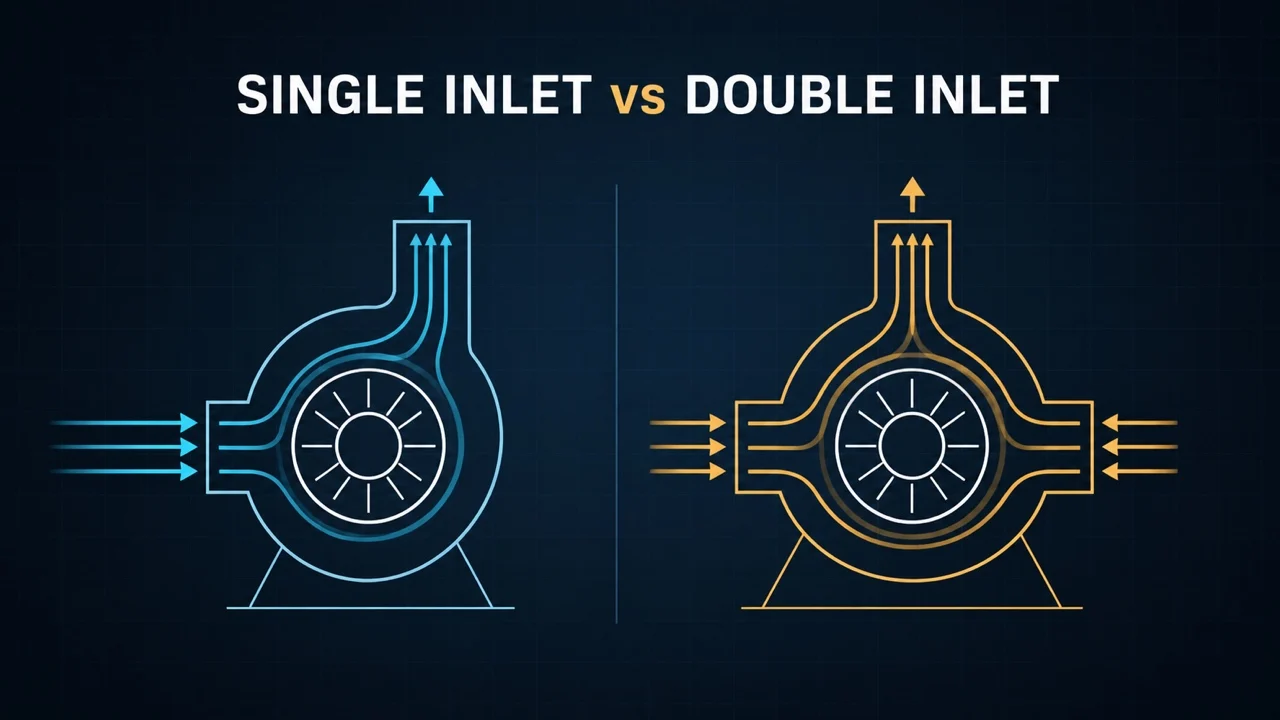
The image above identifies a Longwell inline unit and its circular equipment-to-duct interface. It does not show sealing or prove leakage reduction, certification, savings, or compatibility. For new-equipment research, the Longwell inline duct-fan category is an application starting point, not a repair approval.
Retest the same system, then check operation
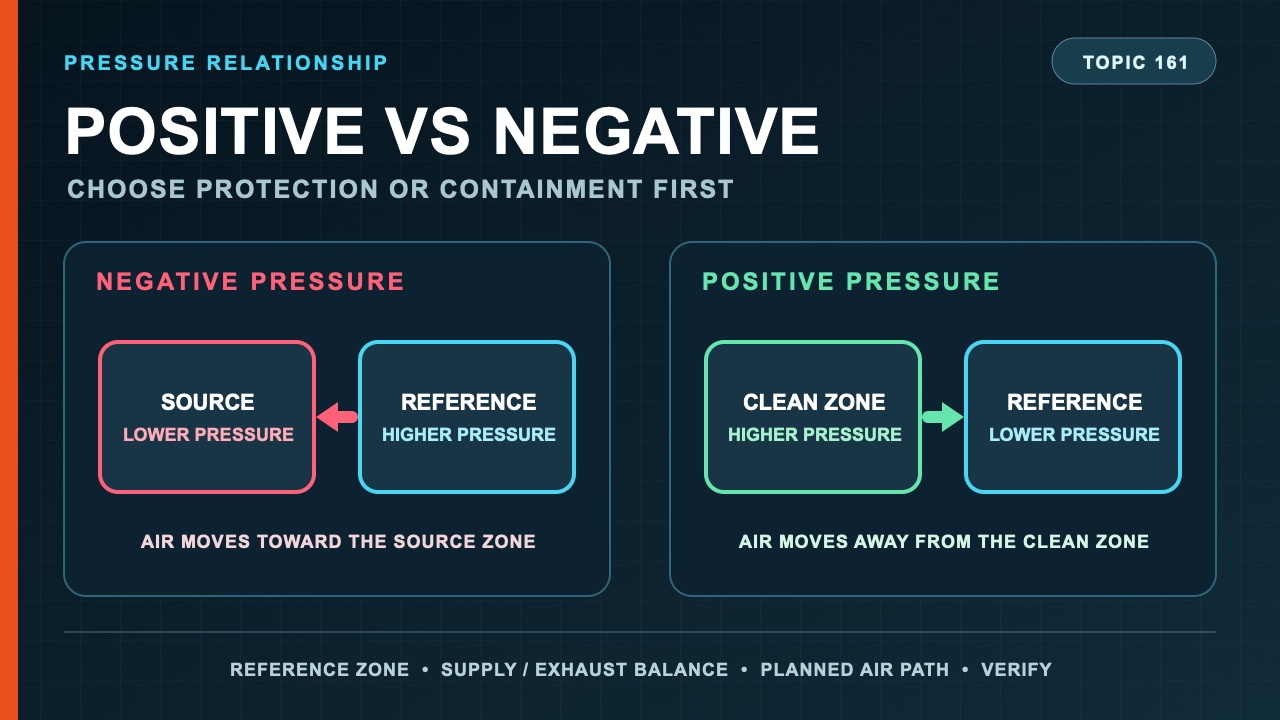
Then repeat the leakage test at the same pressure, boundary and method. A neat seam is not a measured result. Also check airflow, static pressure, return and room balance, required ventilation, condensate and how the gear runs. After all, a tighter supply with a choked return can still perform poorly.
Where fuel-burning gear is present, or the work changes pressure relationships, a qualified combustion-safety check may be needed. Savings depend on the building and the system. In short, no fixed percentage is credible without measurements from your own project.
When not to seal ducts yourself
A minor supply or return joint can be a DIY job, but only under conditions. You can reach it safely. You know what the duct carries. The material is sound and dry. Nearby equipment can be isolated. Local rules allow the work. And the closure maker gives a clear method for that substrate.
For example, use a qualified contractor for concealed systems, unsafe access, large failures, uncertain duct board details, aerosol sealing, fire or smoke parts, suspect asbestos, and anything touching a combustion appliance. Gas odor, a carbon-monoxide alarm, soot, scorching, or damaged venting is an emergency or qualified-service issue—not a sealing task.
Put test boundaries and restoration in the RFQ
Finally, give bidders the duct function, material, size, location, exposure, operating pressure and temperature, the connected equipment, and the target airflow or static pressure. Ask them to name the closure product, its listing, the substrate fit, the prep, the reinforcement, the thickness and the cure conditions. Likewise, keep mechanical repair separate from sealing in the quote.
Require before-and-after leakage results with the same boundary, pressure, method, and units. Document restored insulation, vapor jackets, access, supports, and fire or smoke components, plus airflow, static pressure, balance, ventilation, condensate, operation, and combustion safety where applicable. Project documents—not a universal number—set acceptance limits.
Longwell’s duct-fan system guide gives broader airflow and static-pressure context once you seal ducts and start sizing new equipment. It does not replace closure-product instructions, a leakage test, or the project safety review.