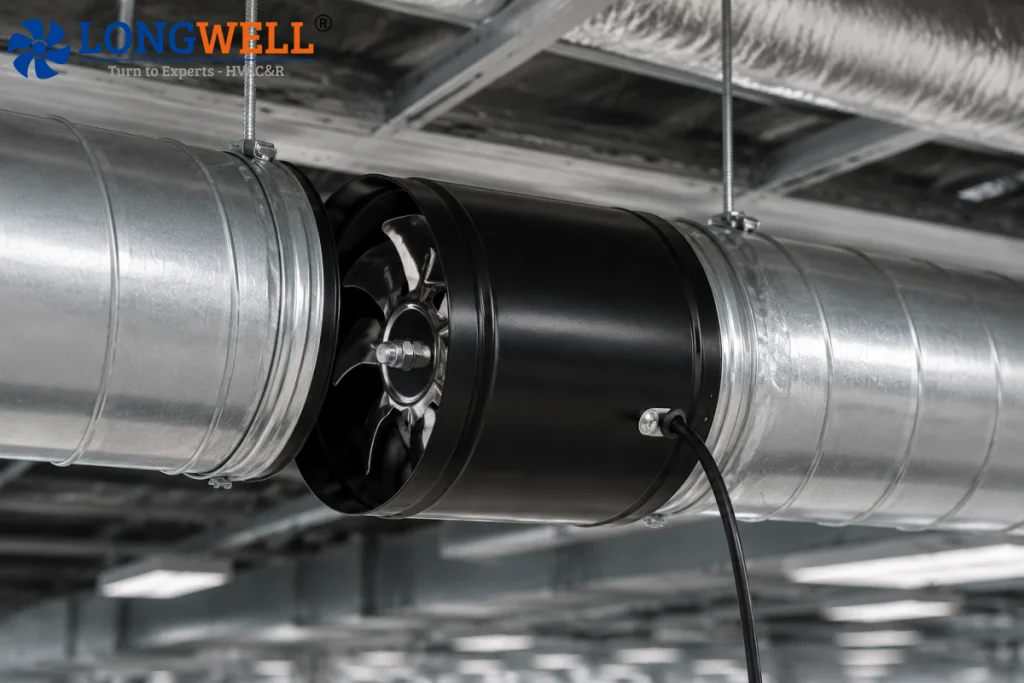
The ducts in HVAC systems are usually long. When the airflow goes through the ducts, the friction may reduce the airflow volume and pressure. Installing a duct fan improves air movement in ducts. Modern duct fan designs achieve outstanding energy efficiency and operate quietly, making them ideal for commercial and industrial spaces. In this blog, we will introduce the whole installation guide from preparation to post-installation tips. Engineers can learn how to install a duct fan safely and efficiently with this guidance.
Preparation Before Installation
Selecting the Right Duct Fan
Choosing the right duct fan is essential to ensure reliable operation after installation. Before selecting a duct fan, carefully consider the following factors.
- Room Size: The required airflow in the system is calculated according to the room size and air changes quantities.
- Duct Size: Measure the target duct’s diameter and length to restrict the duct fan size.
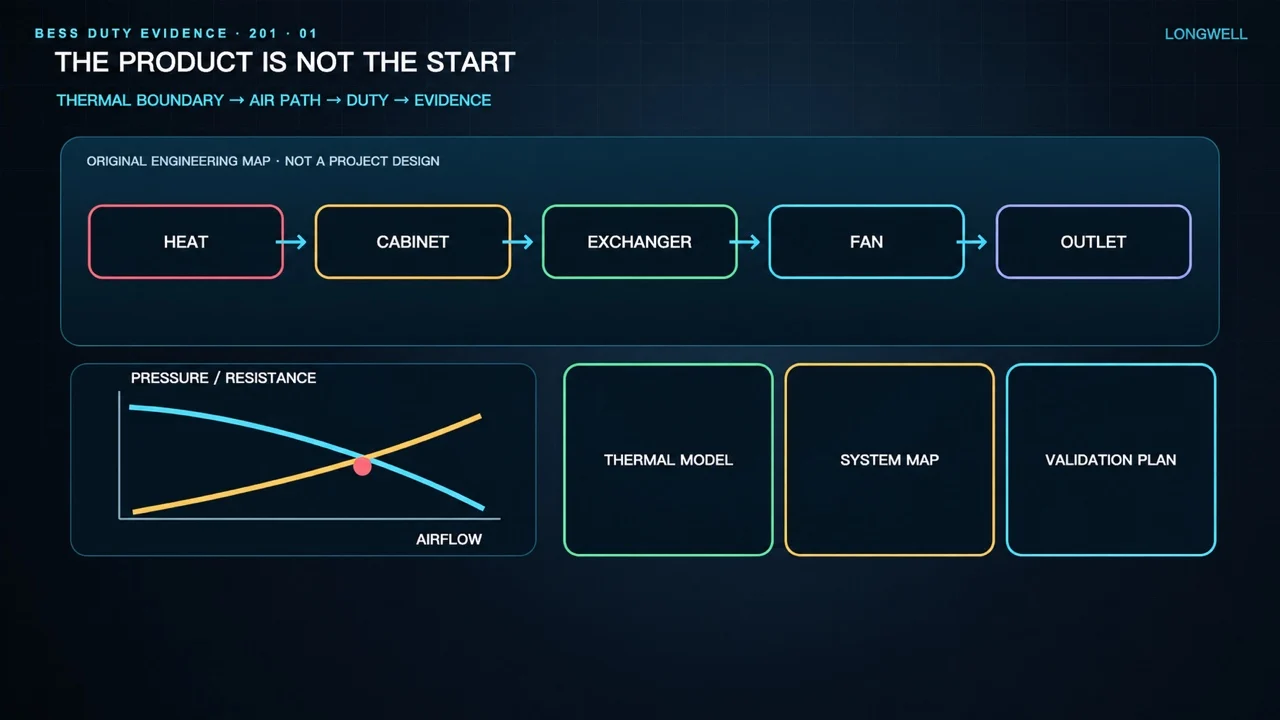
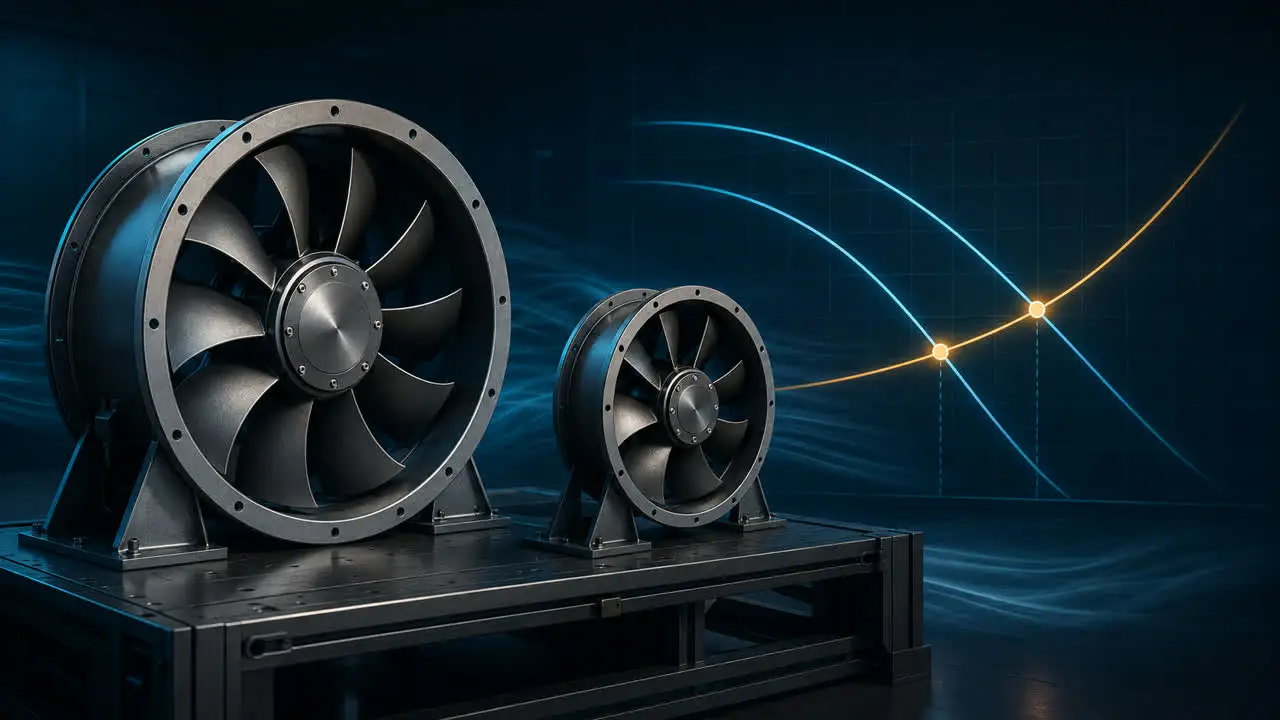
- Static Pressure: Consider the resistance from ducts, filters, bends, and other components. The fan should provide enough static pressure to maintain the required airflow.
- Noise Level: The noise-sensitive application need a duct fan with optimized aerodynamic design and low-noise operation.
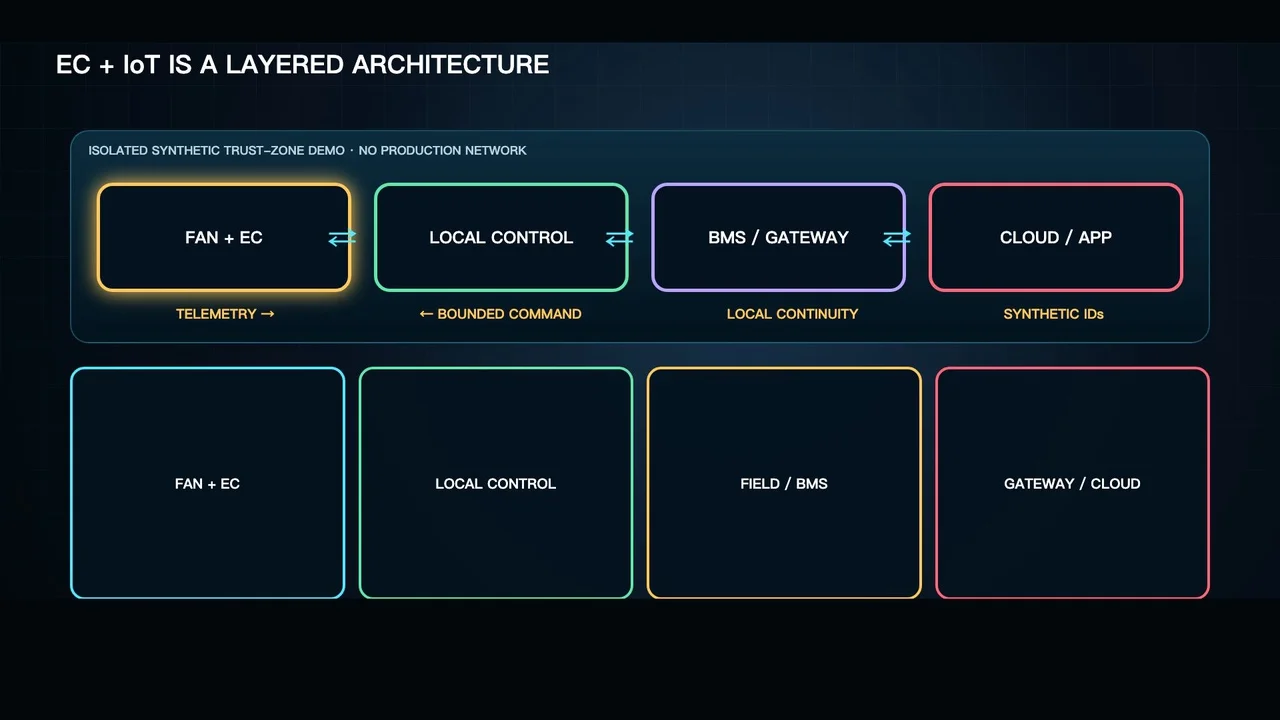
- Current and Voltage: It determine which type of motor can choose. EC motors that provide better performance and lower energy consumption are recommended.
Then, matching the requirements to the duct fan specifications to find out the most proper duct fan.
Tools and Materials Checklist
The installer needs the right tools and materials for the installation process. Preparing these in advance can improve the efficiency of the installation process. The required items may change because of the different practical conditions. The following table illustrates the common tools and materials used.
| Tools & Materials | Purpose |
| Screwdriver Set | Used for fastening mounting brackets, screws, and electrical terminal connections. |
| Drill and Drill Bits | Required for creating mounting holes when installing the duct fan. |
| Measuring Tape | Used to measure duct dimensions and determine the correct installation position. |
| Wire Stripper and Cutter | Used for preparing electrical wires during power connection. |
| Voltage Tester | Helps verify that the power supply is disconnected before wiring. |
| Sealing Tape or Sealant | Prevents air leakage at duct connections and improves system efficiency. |
| Electrical Wires and Connectors | Used for power supply and control signal connections. |
Safety Considerations
The safety protection of workers is the top priority in the installation process. Before performing any wiring or installation work, always disconnect the power supply. Using a voltage tester to confirm that the circuit is completely powered off. During installation, use appropriate protective equipment. Follow the manufacturer’s installation guidelines as well as local electrical and HVAC regulations. When installing some heavy duct fans in elevated locations, the worker should use appropriate lifting equipment or ask for assistance to avoid getting injured. The installation area should also be inspected before mounting the fan. Ensure that the supporting structure is strong enough to hold the fan securely.
Installation Steps
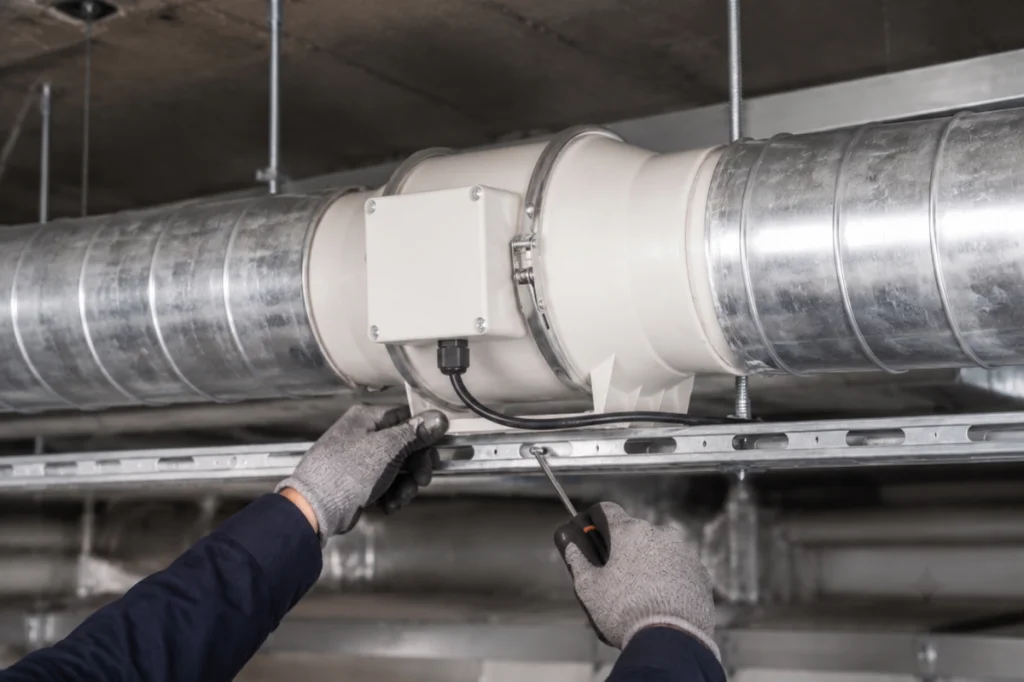
Step 1: Determine the Installation Position
The installation position of the duct fan should be evaluated as the first step. The mounting position needs to avoid being too close to filters or sharp bends. The duct fan should generally be installed in a position where it can provide effective air movement while minimizing airflow resistance.
Future inspection and maintenance should also be considered during installation. The mounting location around the duct fan needs to keep sufficient space for future cleaning. Before fixing the duct fan in place, confirm the airflow direction indicated on the fan housing. Make sure it matches the duct system’s airflow direction.
Step 2: Marking and Cutting the Duct
After the installation position is confirmed, the worker must measure the duct. Accurate marking helps prevent unnecessary modifications and reduces the risk of air leakage after installation. Use a tape measure to determine the exact location for the duct fan and mark the area with a marker.
When installing an inline duct fan, you need to cut part of the duct. Use suitable tools based on the duct material while cutting the duct. The cut edge should remain clean and free from sharp or uneven sections. These could affect sealing performance or create safety risks during installation. Apply proper sealing materials around the connection area to prevent air leakage.
Step 3: Mounting the Duct Fan
Before doing anything else, look over the fan housing and connection points to make sure nothing got banged up in transit. Once that’s sorted, fix the duct fan into the duct system and seal up the connection properly. After that, ensure sufficient clearance is maintained around the fan for future inspection and maintenance. For applications requiring lower noise levels, vibration isolation materials or flexible connectors can be used to reduce vibration transmission. A fan that’s mounted well runs more reliably and keeps the whole HVAC setup doing what it’s supposed to do.
Step 4: Wiring and Power Connection
After installing the duct fan properly, the next step is to connect the wiring. The most important thing is to ensure that the power supply has been turned off. Before connecting the power supply, verify that the voltage or other electrical specifications of the duct fan match the HVAC system requirements.
For AC duct fans, connect the power supply according to the designated terminals. EC motor duct fans that are equipped with intelligent control systems may need additional control wiring. When correctly completing the wiring, inspect all connections to ensure there are no loose wires or exposed conductors.
Step 5: Testing the Installation
With everything installed, the worker can bring the power back on and start testing to make sure the fan runs the way it should. Going through the checks now means the worker will catch any installation problems before the system runs every day.
- Run the fan at full power for the initial test.
- Watch for any unusual shaking or vibration while it’s running.
- Check that air is actually moving in the direction the fan is supposed to push it.
- Listen around the joints. Air leakage creates a faint sound.
- Feel for leaks by running a hand along connections.
- Seal up any leaks with duct tape.
- If using an EC fan, check that the speed controls actually respond.
Post-installation Tips
Maintaining the Duct Fan
The newly designed duct fans are equipped with low-maintenance operation. However, regular cleaning removes dust and debris that may obstruct air circulation. Keeping ventilation systems running smoothly extends the duct fans’ durability. In grow tent and HVAC applications, users should clean fan blades and removable parts each month. This routine helps improve air circulation and keeps the system efficient. Filters also need attention. Checking filters every few months ensures strong ventilation and high air quality.
Troubleshooting Installation Issues
After the fan’s been running a while, there might be the airflow dropping off or hear sounds that weren’t there before. Most of the time, these problems trace back to something blocking the ventilation or a connection that’s worked itself loose. Here’s what to check:
- Swap out any air filters that have gotten clogged up with dust.
- Open up all the registers and return vents so air can actually circulate.
- Look over the duct joints for anything loose and seal up the gaps.
- Check if there are any sagging parts in the flexible ducts and appropriately increase the suspension devices.
- Track down where noises are coming from by listening at different spots.
A few other things worth keeping in mind: sealing any gaps in the ductwork, cleaning out debris that’s built up inside, balancing the airflow between rooms, adding insulation to cut down on noise, and fixing up supports where the ductwork has started to sag. Pay attention to these can keep the air moving well through the whole duct system.
LONGWELL Duct Fan
LONGWELL produce plastic and metal duct fans. For industrial use of these two types of duct fans, we have a detailed blog: Metal vs Plastic Duct Fan: Which is Better for Industrial Use?

LONGWELL Solutions
- Residential and Commercial Building Ventilation: Ultra-quiet duct fans are particularly suitable for apartments, hotels, and offices, maintaining air circulation, reduce humidity, and eliminate odors.
- Industrial Facility and Workshop Exhaust: AC motor duct fans provide high-power, cost-effective solutions for providing clean airflow.
- Data Center Cooling: EC motor duct fans offer precise airflow control to ensure stable temperature regulation and prevent equipment overheating.
- Commercial Kitchen Ventilation: High-performance duct fans effectively remove smoke and odors, improving air quality in food service environments.
FAQs
Where should an inline duct booster fan be installed?
It is usually placed near the higher airflow demand area. For long duct runs, the friction may decrease the airflow volume. The inline duct booster fan should be installed in a straight section of the duct whenever possible, away from sharp bends or obstacles that may create turbulence.
How to install an inline duct booster fan?
Installing an inline duct booster fan follows similar procedures to installing a standard duct fan. The process typically includes selecting the installation position, preparing the duct opening, mounting the fan, completing the electrical connection, and testing the system performance.
Where to install duct fans for best results in a tent?
For tent ventilation applications, duct fans should be installed according to the required airflow direction and ventilation strategy. In most cases, an exhaust duct fan is installed near the upper area of the tent because warm air and humidity naturally accumulate at higher levels. For intake applications, the fan should be positioned to bring fresh air into the lower area of the tent.
What should you check if the duct fan not working?
Check the power supply and electrical connections first. Make sure the circuit is active and that the wiring is correctly connected according to the fan specifications. If the power supply is normal, inspect the fan controller, speed control signal, and motor connections. Other possible causes include blocked ductwork, incorrect airflow direction, excessive system resistance, or mechanical issues.