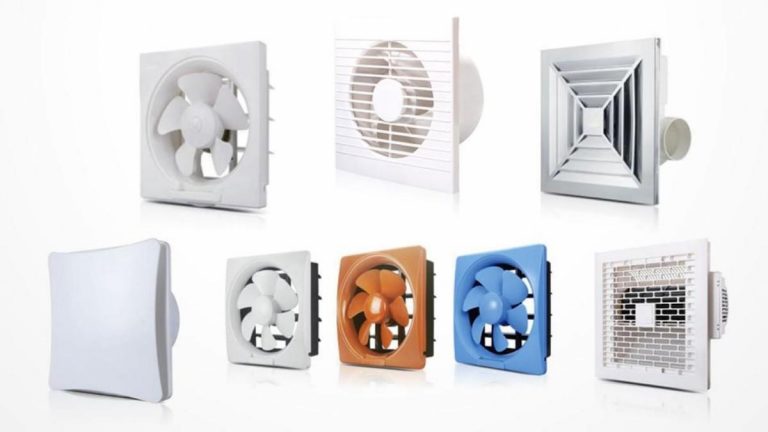
Axial Fan Not Working?
10 Common Problems & Troubleshooting Guide
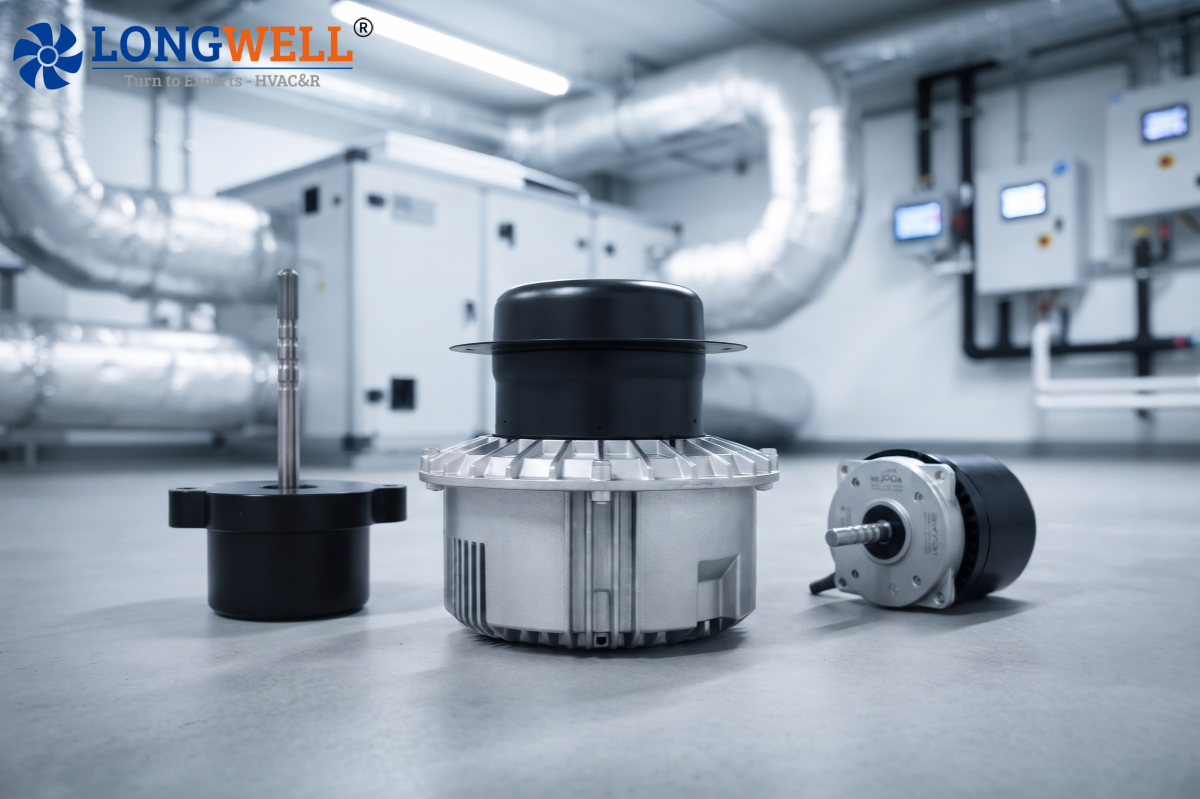
Ningbo Longwell Electric Technology Co., Ltd. | Professional Axial Fan Manufacturer
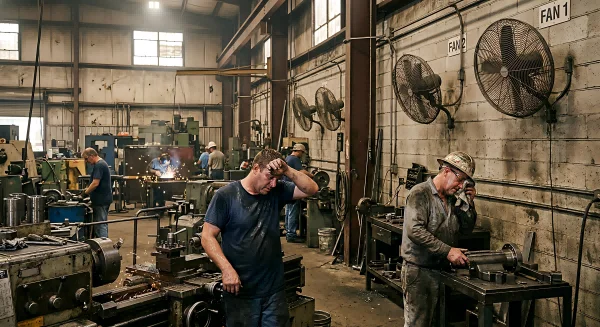
✎ Opening | A Real Case That Cost One Factory Over ¥180K
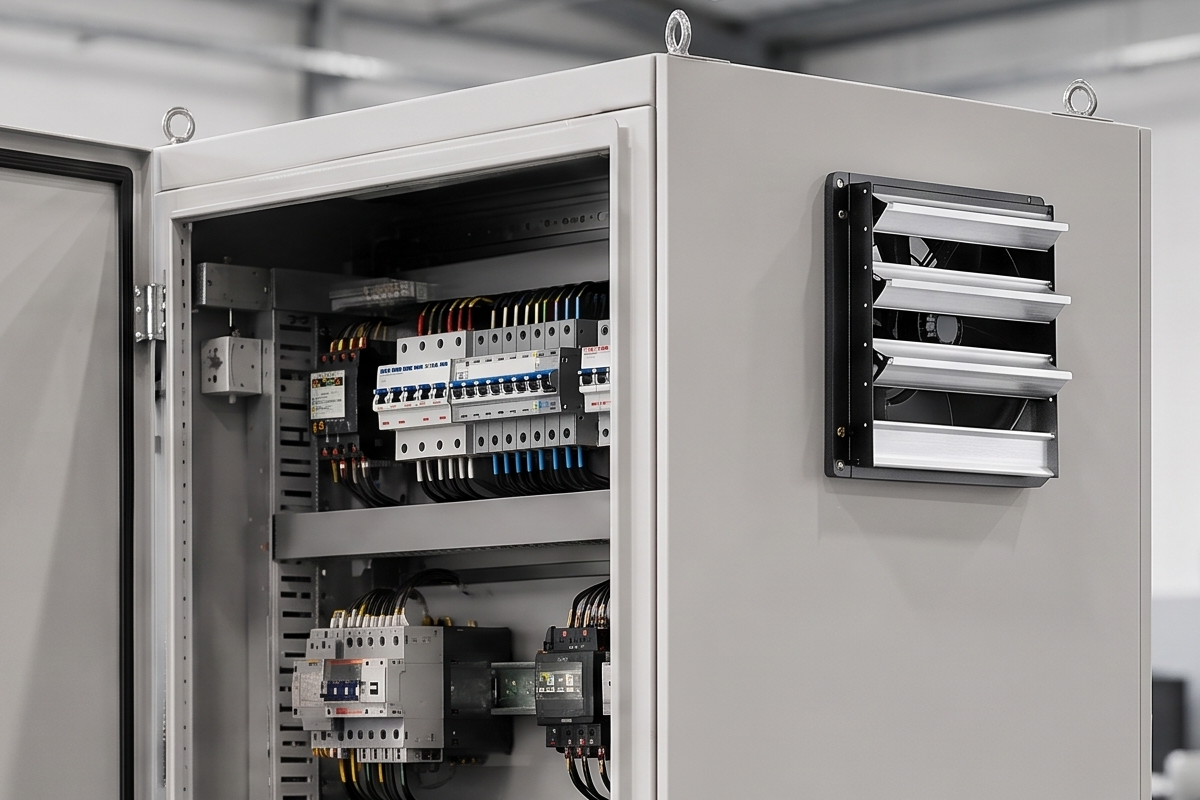
Last summer, one of our major auto parts factory clients suffered a huge loss. The production floor relied on a row of wall-mounted axial fans for cooling. One morning, three out of eight fans suddenly quit. Within two hours, the workshop temperature shot past 42°C — workers and precision equipment alike were pushed past their limits, and the production line had to be shut down.
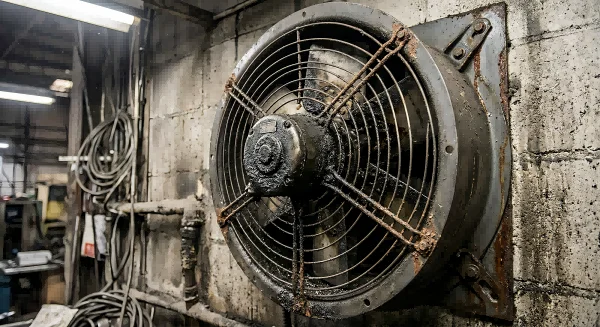
The maintenance team spent nearly six hours troubleshooting: swapping capacitors, tracing wiring, checking connections. Eventually the root causes emerged: two fans had seized due to months of zero lubrication — the bearings had completely locked up. The third had burned out its motor windings from sustained undervoltage. Total cost: over ¥180,000 when you factored in lost production, rush parts, and overtime.
Here’s the kicker: every single one of those failures was preventable. The early warning signs were there all along — they just went unnoticed. Drawing on LONGWELL’s years of on-site field service experience, this article breaks down the 10 most common axial fan failure modes with real diagnostic steps. Learn these, and you’ll save yourself a lot of money and downtime.
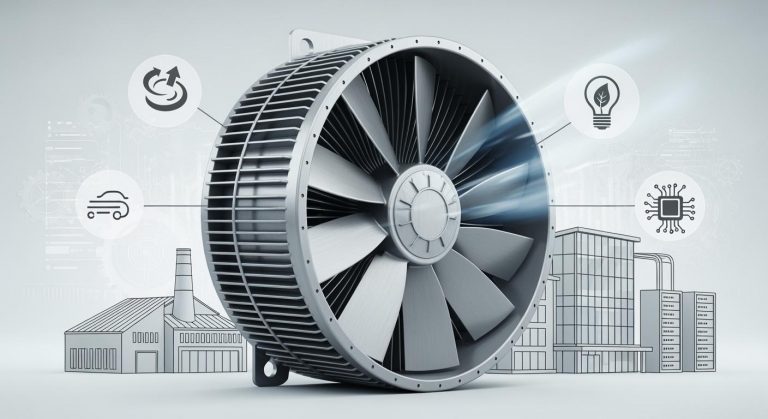
⚙ Background | Fans Are Simple — So Why Do They Keep Failing?
Many people assume axial fans are simple — a motor driving a set of blades, plug it in and forget it. But our field service data tells a different story:
Over 65% of axial fan failures are caused entirely by inadequate maintenance.
Most fan problems trace back to one of these three root causes:
1. Hostile environment, no protection
Dust, moisture, corrosive gases — all lethal to fans not rated for them. Putting a standard-clean-room fan into a woodworking shop floor will kill its bearings in 6–18 months.
2. Buying on price, not on fit
Voltage tolerance too narrow, airflow too low, IP rating too low. In retrofit projects especially, undersized ductwork creates excessive system resistance, leaving fans to run permanently overloaded.
3. Zero maintenance
As long as the fan spins, nobody touches it. Strange noises get dismissed as “normal.” By the time it stops completely, what started as a £50 bearing replacement has become a ¥3,000 motor replacement. It’s the most widespread failure pattern we see in the field.
To fix a fan fast, you first need to understand why it failed. Here’s our step-by-step breakdown of all 10 common fault modes.
⚙ Core Guide | 10 Common Problems & How to Fix Them
1. Complete Shutdown: Fan Won’t Start at All
The most fundamental fault: power is on, but the fan won’t spin.
Step 1 Use a multimeter to check voltage at the motor terminals. For a standard 220V single-phase fan, a healthy reading is 198–242V. No voltage? Trace upstream: fuse, contactor, disconnect switch.
Step 2 For single-phase motors, test the run/start capacitor with a capacitance meter. A reading significantly below its rated value (e.g., a 10µF cap reading below 8µF) or showing OL means replace it. Capacitor failure is the #1 cause of “won’t start” on single-phase units.
Step 3 With power locked out, try turning the shaft by hand. If it won’t rotate freely, bearing seizure is the culprit. Never apply power to a seized fan — you’ll burn the motor in minutes.
Step 4 If the shaft turns freely, measure motor winding resistance with an ohmmeter. All three phase-to-phase readings should be within 5% of each other. OL or wildly asymmetric readings indicate open or shorted windings.
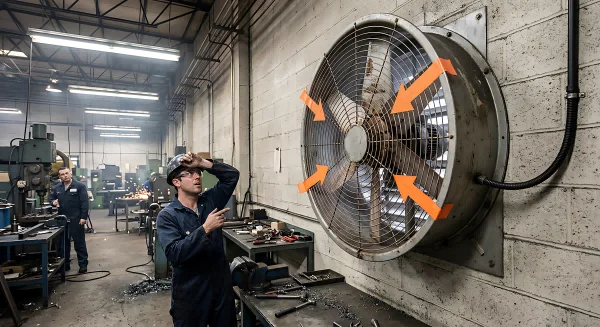
2. Running But No Airflow: Low Air Delivery
The fan spins, but ventilation is clearly inadequate — temperatures won’t drop, outlet air velocity feels weak.
Check 1 Verify rotation direction. Stand facing the inlet: blades should push air away from you, toward the outlet. On three-phase fans, swapping any two of the three supply leads reverses direction. This single error accounts for a surprising number of “low flow” complaints after rewiring.
Check 2 Measure supply voltage under load. A 380V motor running at sustained 10% undervoltage (342V) loses approximately 19% of rated torque. Low voltage = low speed = low airflow. If voltage is consistently low, investigate the supply circuit.
Check 3 Inspect the entire airflow path: inlet guards, filters, outlet louvers. Even 30% filter blockage can reduce airflow by 40–50% in ducted fans. Cleaning or replacing filters is the single highest-ROI maintenance task there is.
Check 4 For adjustable-pitch fans: check that blade pitch angle hasn’t shifted from its design setting due to loose hub fasteners. Even 3° of pitch loss can significantly reduce output.
3. Abnormal Noise: Grinding, Knocking, or Humming
Noise is one of the most reliable early warning signals of mechanical trouble. Never ignore it.
Diagnosis Use a long screwdriver as a stethoscope: touch the handle to the bearing housing, your ear to the grip. Bearing noise is immediately louder at the source.
• “Grinding / rasping” sound → Likely bearing wear or lack of lubrication
• “Metallic knocking” at speed → Blade tip strike (swept blade) or foreign object caught in the impeller
• “Rattling” that appeared suddenly → Stop immediately — likely a foreign object (plastic bag, strapping band, leaf) caught in the blade path
• Low-frequency hum/buzz → Electrical resonance or loose motor lamination
4. Motor Overheating or Thermal Trip
The motor housing is too hot to touch, or the thermal protection keeps tripping.
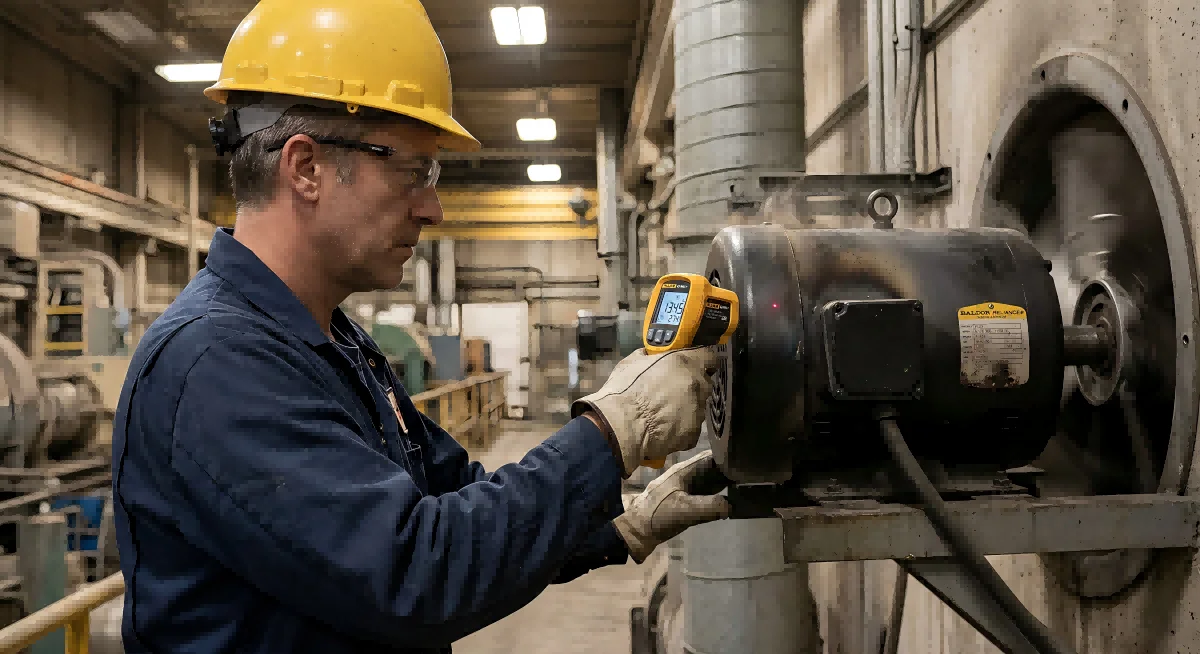
Measure current Use a clamp meter on each phase under load. If current consistently exceeds nameplate FLA by more than 10%, the motor is overloaded.
Measure temperature Use an IR thermometer on the motor frame. For a Class B insulation motor (the most common type), surface temperature should stay below 80°C. Above 90°C is a serious warning. Above 110°C, insulation damage is already occurring.
Check cooling airflow In ducted fans, the motor is cooled by the air it’s moving. Reduced airflow (blocked filters, closed dampers) means the motor loses its primary cooling mechanism. Always restore full airflow before concluding the motor is defective.
Check for single-phasing On three-phase installations: if one phase has dropped out (blown fuse, loose terminal), the motor will draw excessive current on the remaining two phases and overheat rapidly. Measure all three phases simultaneously under load.
5. Excessive Vibration
Vibration isn’t just a nuisance — it accelerates bearing wear, loosens fasteners, fatigues blade root attachments, and can destroy mounting frames.
Inspect blades Even minor blade tip damage creates significant imbalance at operating speed. Check for chips, dents, or uneven dust/grease coating (which creates aerodynamic imbalance).
Re-torque all fasteners Takes less than 10 minutes. In most facilities with chronic vibration complaints, loose mounting bolts are the root cause. Re-torque to specification.
Check vibration isolators Rubber anti-vibration mounts harden over time, especially in high-temperature environments. A hardened mount transmits rather than absorbs vibration. Replacement is inexpensive relative to the damage prevented.
6. Intermittent Operation: Starts and Stops Repeatedly
If it restarts after 10–20 minutes Thermal overload cycling is the primary suspect. See Step 4 for overheating investigation.
If it doesn’t self-recover Inspect terminal connections for oxidation or looseness. High-resistance connections generate heat, accelerating further oxidation in a vicious cycle. Tighten all terminals and apply contact-grade anti-oxidation compound.
For BMS-controlled fans Check for signal interference from adjacent variable frequency drives (VFDs). A fluctuating or noisy 0–10V / 4–20mA reference signal will cause erratic operation.

7. Won’t Shut Off: Running Continuously
Cause The system has sent a stop command but the fan keeps running. In most cases, the contactor or relay contacts have welded together under a short-circuit condition.
Action De-energize the circuit and inspect the contactor. If contacts are fused/welded, replace the entire contactor — never attempt to pry contacts apart with tools. The contact surface integrity will be permanently compromised.
8. Speed Control Not Working (Variable Speed Fans)
Check VFD fault codes Modern VFDs display specific fault codes. Consult the drive manufacturer’s documentation for code definitions.
Verify the reference signal At the VFD analog input (0–10V or 4–20mA), check that the signal varies with the speed command. A signal stuck at maximum will cause the drive to run at full speed regardless of setpoint.
Confirm motor compatibility Standard motors are not inverter-duty rated. Running a standard motor on a VFD at low frequencies reduces cooling fan speed, causing motor overheating. Always verify the motor is inverter-rated before commissioning variable-speed operation.
9. Physical Damage: Blade or Hub Cracking
Inspect With power fully locked out and tagged out (LOTO), use a torch to inspect both the pressure and suction sides of every blade. Check for cracks, chips, deformation, or corrosion pitting.
⚠ Any blade structural damage — STOP IMMEDIATELY. A blade separating at operating speed is a lethal safety hazard. Replace the entire impeller set. Do not operate the fan.
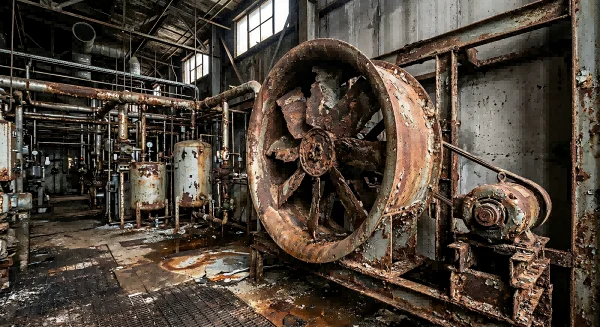
10. Corrosion and Environmental Degradation
In coastal, chemical processing, or high-humidity environments, corrosion is a progressive mechanism that silently degrades both mechanical integrity and electrical insulation.
Inspect Check motor terminal box, cable entries, and frame for white oxidation (aluminum) or green oxidation (copper/brass). Any corrosion penetrating to motor windings means motor replacement — not just cleaning.
Protect coatings Touch up any compromised paint or coating during routine maintenance to slow corrosion progression.
Specify correctly For wet, humid, or corrosive environments, minimum IP55 rating is required. Coastal, wash-down, and chemical environments typically need IP65 or higher. The incremental cost of correct specification is always less than the cost of early failure.
⛔ Common Mistakes | Three Costly Missteps to Avoid
❌ Mistake 1. Replacing the Motor Without Fixing the Root Cause
This is the most expensive maintenance mistake there is. If the motor burned out due to a seized bearing, a bad capacitor, voltage instability, or a blocked airflow path — and you don’t fix that root cause — the new motor will fail within weeks.
✔ Rule: The motor is almost never the root cause. It’s usually the victim. Fix the underlying condition first.
❌ Mistake 2. Using Standard Fans in Hazardous Environments
Saving money on fan specification by installing a standard fan in a paint booth, chemical warehouse, or marine environment doesn’t just shorten equipment life — it creates an explosion or ignition risk.
✔ Correct practice: Areas with flammable gases or vapors require fans certified to ATEX or IECEx — with the correct gas group and temperature class for the specific hazard present. Corrosive environments require FRP, stainless steel, or epoxy-coated construction. Match the fan to the environment.
❌ Mistake 3. Relying on Visual Inspection Alone
“It looks fine to me” is not a maintenance strategy. Bearing inner race wear, winding insulation degradation, and voltage quality issues are invisible to the naked eye but easily detectable with basic instruments.
✔ Correct practice: A clamp meter, IR thermometer, and basic vibration meter together cost less than $300. They detect 80%+ of developing faults before they become failures. A bearing temperature rising 5°C month over month is a bearing that WILL fail. Catch it on your schedule, not on the worst possible day.
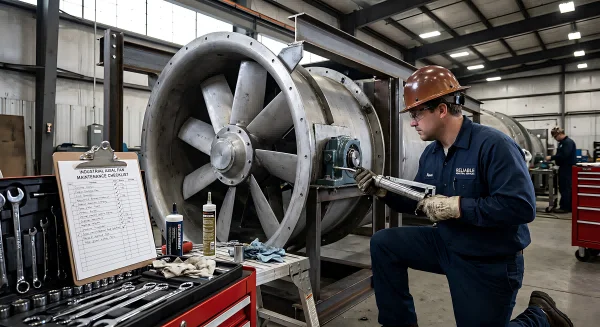
✔ Summary | Preventing Failure Is Always Cheaper Than Fixing It
Axial fans rarely “die suddenly.” In the vast majority of cases, they fail predictably — from identifiable, addressable root causes. Follow this maintenance schedule and you’ll catch most problems before they become expensive emergencies:
▶ Monthly
☐ Visually inspect blade cleanliness and condition
☐ Listen for unusual noise; feel for abnormal vibration
☐ Confirm inlet and outlet are unobstructed
▶ Quarterly
☐ Measure supply voltage and motor current under load
☐ Re-torque all electrical terminal connections
☐ Inspect and test capacitors on single-phase motors
▶ Annually
☐ Lubricate or replace bearings (per manufacturer specification)
☐ Measure motor winding resistance and insulation resistance
☐ Inspect anti-vibration mounts; replace if hardened
☐ Check all blade attachment fastener torques
If you encounter a fault that these steps don’t resolve, or if you’re commissioning a new project and want the right fan specified from the start — reach out to LONGWELL’s technical team. We offer free specification consultation and on-site fault diagnosis across our full range of industrial axial fans.
The best time to fix a fan problem is before it becomes a fan failure.
— LONGWELL
Ningbo Longwell Electric Technology Co., Ltd.
Professional Axial Fan Manufacturer | HVAC & Industrial Ventilation Solutions
www.longwellfans.com