Introduction
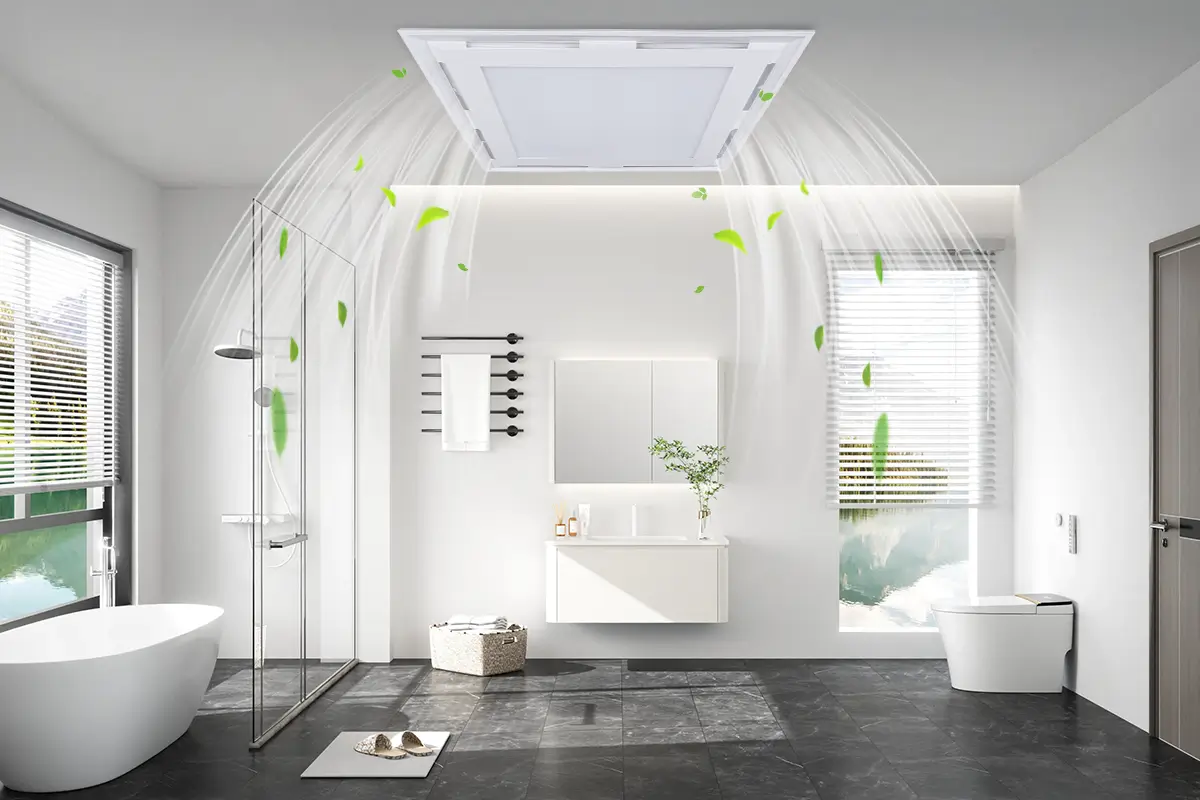
A bathroom exhaust fan is vital for keeping your bathroom healthy and comfortable. It takes away extra moisture and bad smells. This keeps the air fresh and stops mold and mildew from forming. If your bathroom exhaust fan is loud, not working properly, or old, you can change it yourself. This simple update will improve your bathroom. Just follow these easy steps to replace your old bathroom exhaust fan. You will enjoy a quieter fan that works better and clear air in your bathroom.
Preparing for Your Bathroom Exhaust Fan Replacement
 Before you start the replacement, it’s smart to prepare. First, know why exhaust fans matter. Next, gather all the tools and materials you will need. This will help the installation go smoother and faster. First, let’s talk about why you need to replace a broken or old bathroom exhaust fan. A good exhaust fan does more than just get rid of bad smells. It also helps remove extra moisture from your showers and baths. This is really important because too much moisture can cause mold and mildew growth. Mold and mildew can be bad for your health and can also harm your bathroom over time.
Understanding the Importance of Exhaust Fans
Bathroom exhaust fans do more than just get rid of bad smells. Their main job is to lower high moisture levels in bathrooms. This is especially important when you’re taking a shower or a bath. If the moisture isn’t removed properly, it can cause several problems. Too much moisture can lead to mold and mildew growth. These fungi can appear on walls, ceilings, grout, and shower curtains. Mold and mildew look unappealing, and they can release spores into the air. This can create breathing issues and make allergies worse for some people. Plus, excess moisture can damage building materials over time. A working bathroom exhaust fan is really important. It takes away the humid air and keeps the area dry. This helps lower the risk of mold and mildew growth. In turn, this protects your health.
Tools and Materials You Will Need
Having the right tools and materials ready before you start helps make your installation easier and quicker. Here’s a list of what you will need: 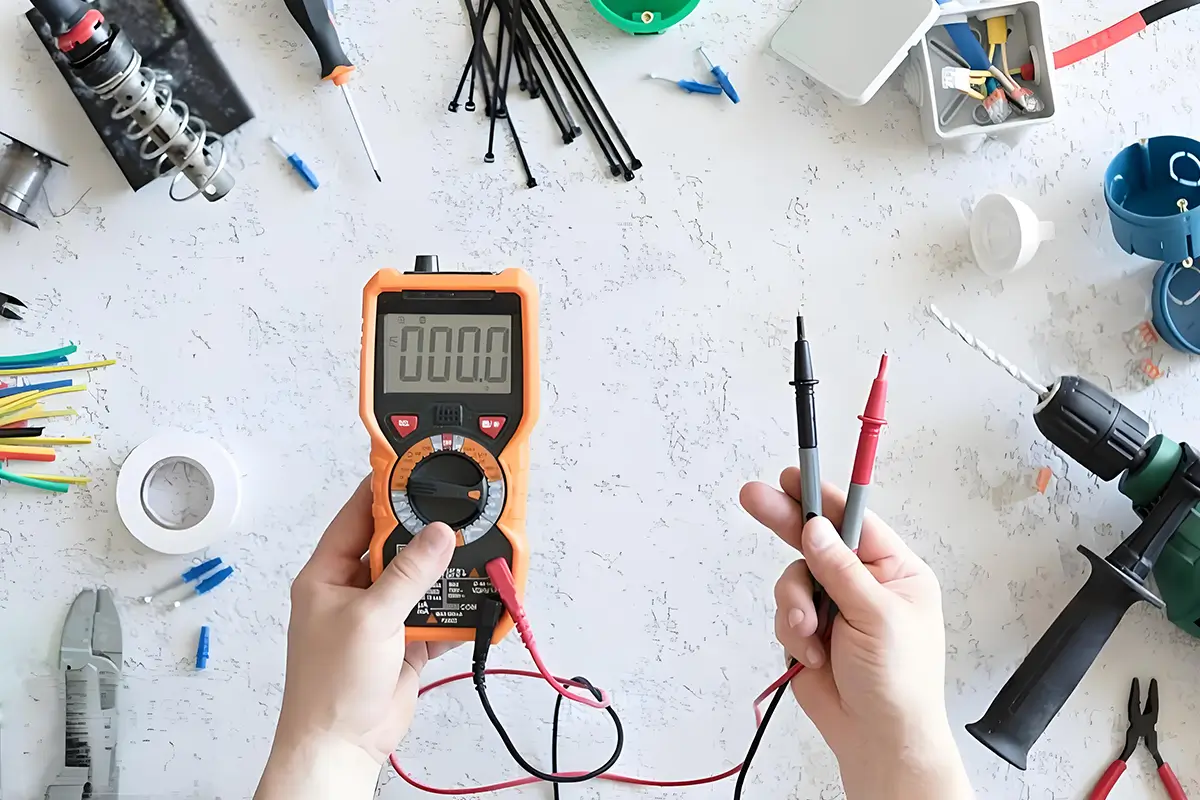
- Tools:
- Utility knife
- Screwdriver
- Drill
- Drill bits
- Circuit tester
- Materials:
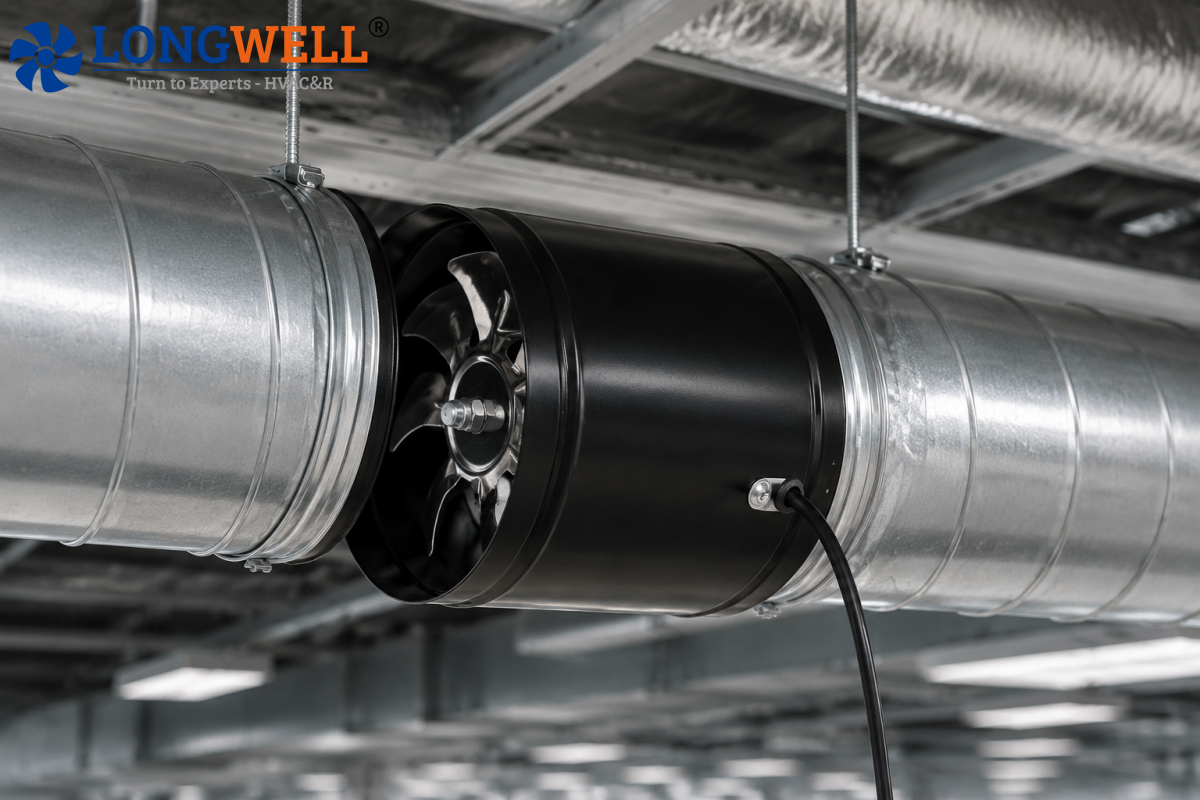
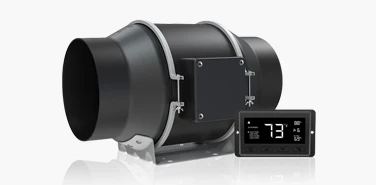
- New bathroom exhaust fan
- Duct tape
- Cable clamps
- Wire connectors
Having the right tools and materials can make replacing a fan easier. Before you begin any electrical work, make sure to turn off the power to the fan at the electrical panel. This will help keep you safe and prevent any shock.
A Beginner’s Guide to Replacing a Bathroom Exhaust Fan
Replacing a bathroom exhaust fan can be simple. Homeowners can do this on their own with some help. This guide will give you easy steps to change an old bathroom exhaust fan. Please read the instructions from the manufacturer. These instructions came with your exhaust fan. There may be slight differences depending on the model you have.
Step 1: Safety First – Turning Off the Power
Before you start working on your bathroom exhaust fan, turn off the power. This step is very important for your safety. It will help you avoid getting electric shocks while you change the fan. First, you need to locate your electrical panel. It is usually found in the basement, garage, or utility room. Look for the circuit breaker that controls the bathroom fan. When you find it, turn the breaker off. To make sure the power is off, you can use a non-contact voltage tester or a circuit tester. Now that the power is turned off, you can safely take out the old fan. You are in a good and safe spot to continue working.
Step 2: Removing the Old Exhaust Fan
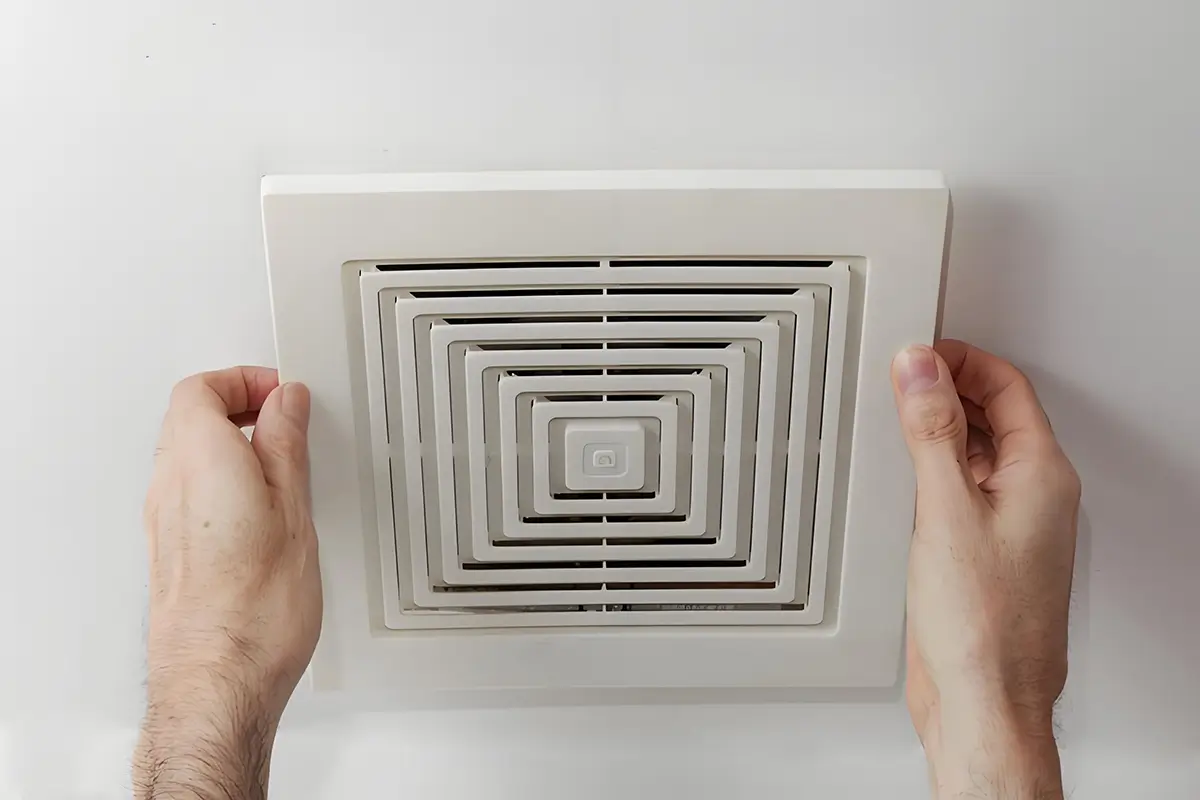
- First, gently remove the cover from the old fan.
- You may need to unscrew fasteners or unclip parts that hold the cover.
- After you take off the cover, you will see the fan housing and wiring.
Next, remove the wires from the existing fan and the house wiring. Find the wire connectors, which are usually orange or yellow. Unscrew these connectors to split the wires. Remember how the wires are connected. You will need to connect them the same way for the new fan. Lastly, take down the old fan from the ceiling. First, you may need to unscrew the fan housing from the brackets or joists. Once you do that, carefully lower the old fan. If needed, also disconnect the ductwork.
Step-by-Step Installation Process
Now that you took out the old fan, it’s time to get the new fan ready for installation. If your new fan has ductwork, make sure to connect it. Then, adjust the new fan’s housing so it fits tightly in the ceiling opening.
- Start by gathering all the needed tools and parts.
- Read the instructions carefully.
- Set up your workspace and make it clear.
- Take your time and work step by step.
- If you feel stuck, check the manual or ask for help.
- When finished, test everything to make sure it works.
- Clean up your area and store any extra parts safely.
Step 3: Preparing the New Fan for Installation
- Open the box with the new exhaust fan and check its parts.
- If your fan has a duct, attach it to the right port on the fan housing.
- Use duct tape to hold it securely.
- A lot of new fans have the duct connector already in place.
Next, get the wiring ready. Take out the knockout plug from the new fan housing. This plug has a space cut out for the electrical wires. You will push the house wires through this hole to connect them. With the ductwork set up (if you have it) and the wires ready, you can put in the new fan housing. Keep in mind, do not attach the fan blades until the fan is fixed to the ceiling.
Step 4: Mounting the New Exhaust Fan
- Read the manufacturer’s instructions carefully.
- First, lift the new fan housing into the ceiling opening.
- Make sure the electrical wires and ductwork are in the right place.
- Next, use the fasteners or screws that came with it to attach the new fan housing to the ceiling joists or support brackets.
Now, take the electrical wires from the new fan housing. Put them through the cable clamp in the fan’s wiring area. Connect the wires by their colors. The white wire from the fan connects to the white house wire, which is neutral. The black wire from the fan goes with the black house wire, which is the hot wire. For grounding, connect the green wire to the bare copper house wire or the green grounding screw on the fan housing. After you finish connecting the wires, gently put them into the wiring compartment. Next, put the cover back on. Your new fan is almost ready!
Conclusion
In conclusion, replacing your bathroom exhaust fan is an easy task you can do on your own. It keeps the air fresh and stops mold from growing in your bathroom. Just follow the steps in this guide, and you can upgrade your fan to create a nice, healthy space. Always keep safety in mind when you work with electrical components. If you’re not sure about something, it’s okay to ask a professional for help. Enjoy the good benefits of a quality bathroom exhaust fan!
Frequently Asked Questions
How do I know which bathroom exhaust fan size is right for my bathroom?
To pick the right size for a bathroom vent fan, you need to measure your bathroom size in cubic feet. Bathroom fans are rated by airflow, which is known as CFM or cubic feet per minute. To find the correct CFM, start by measuring the length, width, and height of your bathroom in feet. Next, multiply these three numbers together (length x width x height). After that, take the total and multiply it by 0.13 to get the right size for a typical bathroom.
Can I replace a bathroom exhaust fan without attic access?
Yes, you can do it! It is easier if you use the attic access. You can also install many bathroom exhaust fans right from below the ceiling. Choose models that come with adjustable brackets. These brackets will help you hold the fan securely to the ceiling joists from inside the bathroom. After that, just attach the grill.
What should I do if the new fan doesn’t fit the existing opening?
If your new fan is smaller, you will need to use a piece of drywall. First, attach a piece of wood to the back of the old drywall with screws. Then, place the patch in the right spot. If your new fan is larger, you can use a reciprocating saw to make the hole bigger. Just make sure the hole is the same size as the new fan housing.
How do I handle the electrical wiring during installation?
Connect the fan’s electrical wires to the house wires using connectors. First, take the white wire and attach it to the white house wire. Next, connect the black wire with the black house wire. Finally, link the bare copper wire or green wire to the ground wire or the grounding screw.
When should I consider calling a professional for installation?
Replacing a bathroom exhaust fan can be easy if you like DIY projects. But if you feel unsure about dealing with electrical components, it’s best to speak with a qualified electrician. This is important, especially if the wiring seems complicated.